Introduction
The Reportana Email Editor is an essential feature designed to simplify and optimize the creation and editing of professional communications for leads and customers. This robust tool allows you to start crafting your emails by choosing from a variety of pre-designed templates or starting from scratch. The main goal is to provide the flexibility and control needed to create emails that not only deliver the desired message, but also effectively and professionally reflect the brand's identity.
How It Works
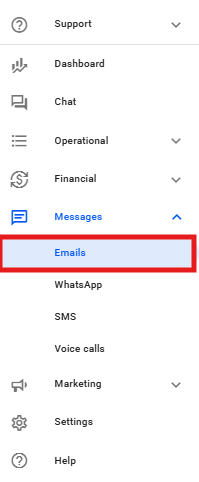
To start creating or editing your email, you need to access the editor on the Reportana platform. Simply navigate to the main menu and select Messages → click on Emails. Or access: Emails
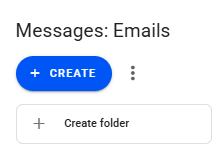
To create a new email, click the +Create button.
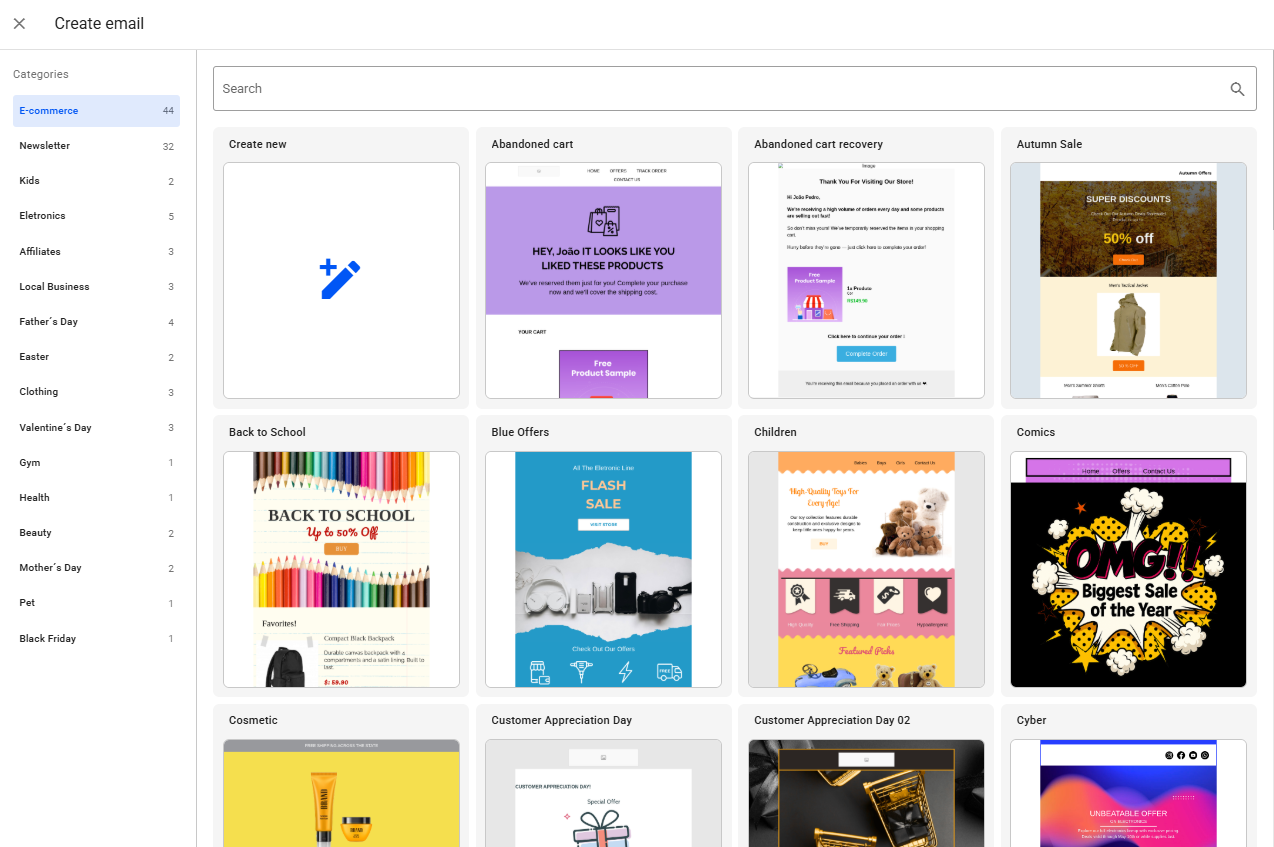
In this tab, various options with our available email templates will be displayed. You can explore the ready-made email templates and use them as needed. Alternatively, to create an email from scratch, click the Create new option.
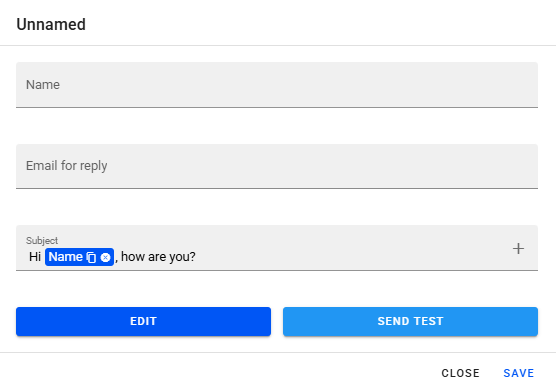
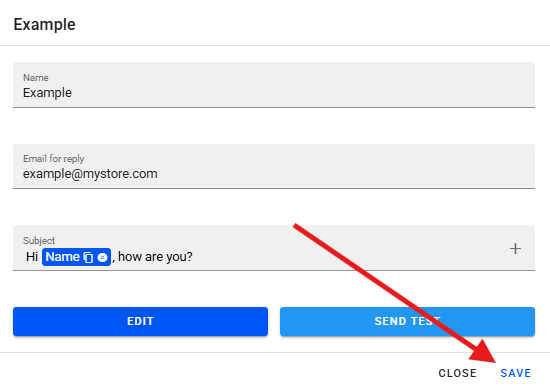
Before accessing the email editor, you will need to define the information below:
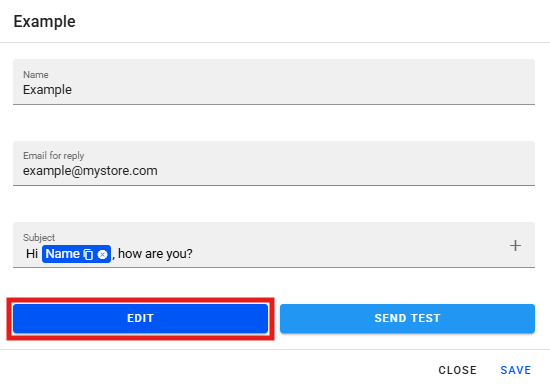
- Email Name: give a name to your email (e.g., "Email 1"). This name is for your internal organization
- Email for reply: provide a reply-to email. This will be the address where your leads' responses will be directed.
- Subject: define the subject of your email. The tool suggests a format that can include the variable {{name}} to automatically pull the lead's name. You can fully customize the subject and add other variables by clicking the + icon.
To continue editing the email, click on Edit.
The email editor is divided into main sections to make creation easier. All sections can be found in the sidebar, located on the right. This sidebar contains elements you can add to your email, as described below:
- Images: in the sidebar, there is a gallery of ready-made images that you can drag into your email. It is also possible to generate images through Artificial Intelligence (AI), where you describe the desired image and the AI creates it for you to add.
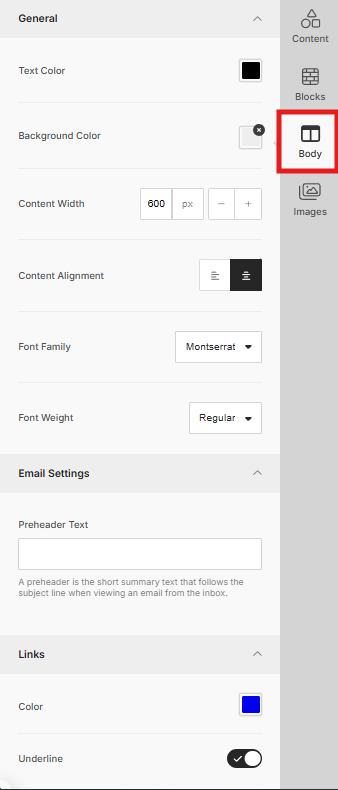
- Body: in the sidebar, you will also find the body settings for the email, such as general edits like text color, background color, width, and alignment.
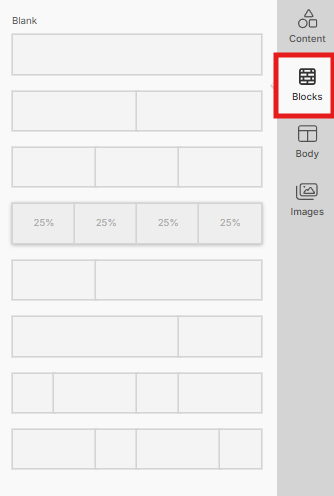
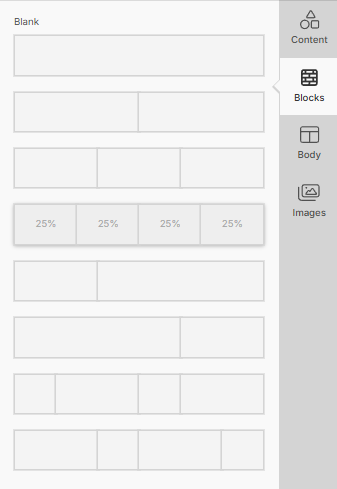
- Blocks: essential for structuring the email. They allow you to separate different sections with distinct settings. To add them, simply drag the blocks into the body of the email.
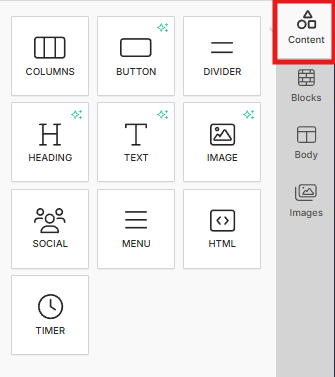
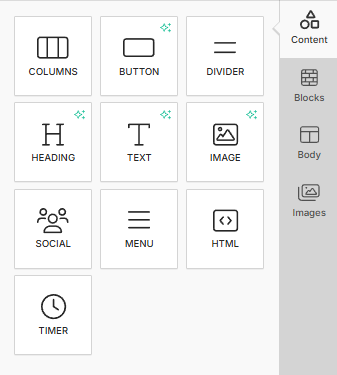
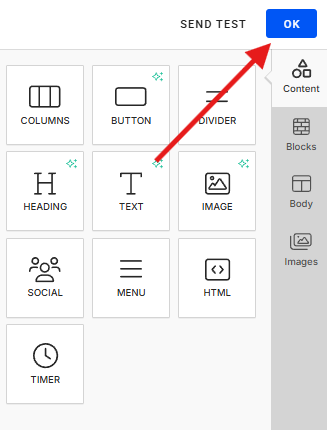
- Content: specific elements (buttons, text, images, etc.) which are inserted into the blocks.
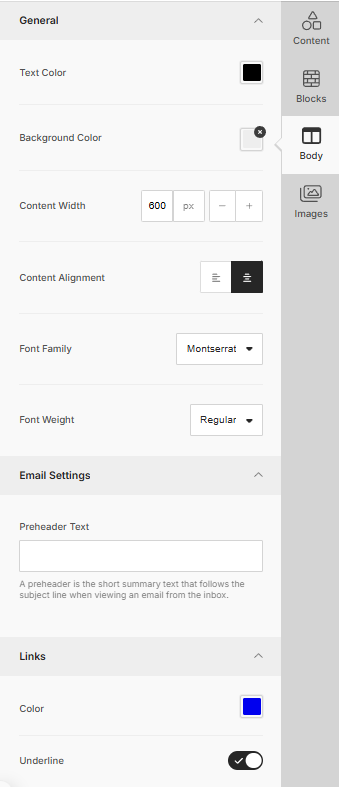
To make edits to the email body, when selecting the Body option, the following options will be available:
- Text Color: defines the general text color in the blocks.
- Background Color: defines the background color of the email.
- Content Width: adjusts the width of the email's content area.
- Content Alignment: defines whether the content will be centered or left-aligned.
- Font Family and Weight: defines the default font and its weight for the email.
- Pre-header Text: you can add a short text that appears in the recipient's inbox, right after the subject.
To configure the structure of our email, we use Blocks. Blocks are the foundation of your email's structure, especially when starting from scratch. To add a block, drag it from the sidebar to the desired position in the email body. Blocks can be divided into up to four columns, and are resizable, allowing you to adjust the size of each column according to your layout needs.
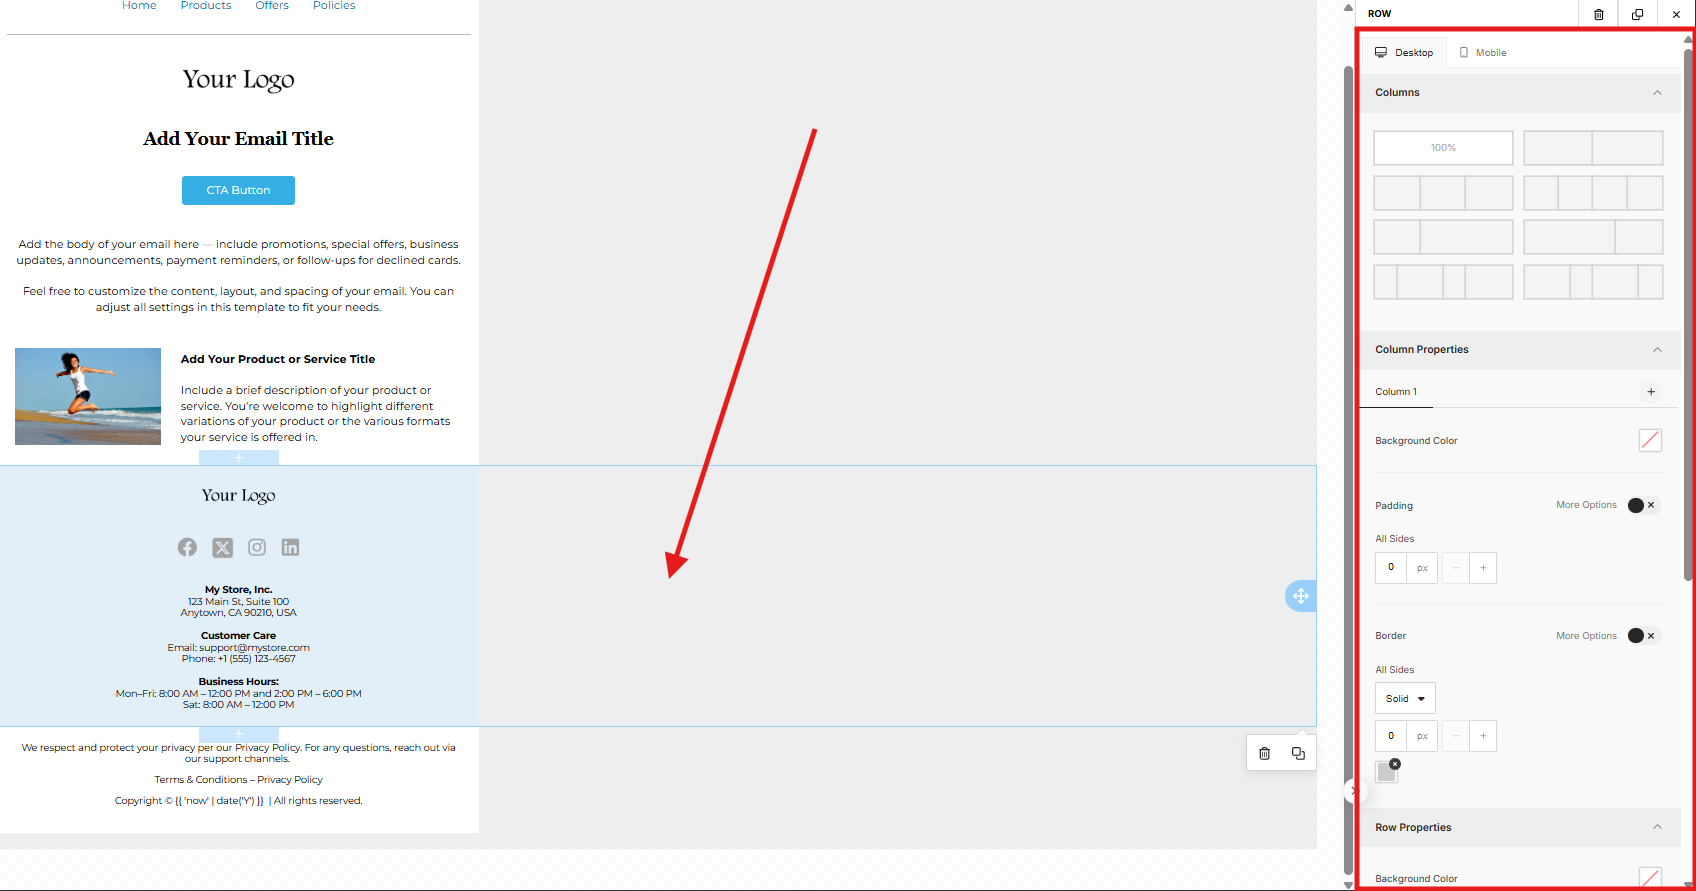
In addition to the general email settings and customizations for each content element, you can configure each block individually. To perform individual configuration, click on the outer area of a block to open its settings. Here you can:
- Change the column structure (split into 1, 2, 3, or 4 columns);
- Adjust the internal and external spacing of the block;
- Add borders;
- Change the background color of the entire block, independent of the overall email background color.
With the blocks defined, we can add content elements inside them. Simply drag the elements from the Content section in the sidebar into a block. Some examples of elements you can use inside the blocks are:
- Buttons: add Call to Action (CTA) buttons. You can customize the spacing, color, add borders, and crucially, insert the URL where the button should direct the user.
- Dividers: lines to visually separate sections of the email. You can configure the width of these dividers.
- Title: add titles to highlight sections. You can change the font, size, and other settings through the sidebar menu that appears when selecting the title.
- Text: text blocks for the body of your message. Basic formatting options like bold and italics are available. Additional settings are available in the sidebar menu. A new feature is the ability to edit text blocks using AI, with smart text suggestions.
- Variables: by selecting any text, you can insert variables, such as order information, abandoned cart, tracking. The variable must be compatible with the type of message being created. For example, you won't be able to use order variables in abandoned cart messages.
- Image: insert images. You can upload directly, adjust the width, alignment, and add a URL to make the image clickable (directing the lead to a website or page, for example). Similar to the sidebar, you can change the image or generate a new one through AI by selecting the image element.
- Social Media: add icons for your social media. You can select which networks to display (Facebook, WhatsApp, YouTube, etc.) and must insert the corresponding links for each one. There are spacing options for these icons.
- Menu: useful for adding navigation links (like to pages on your website) within the email. You define the title for each menu item, insert the corresponding URL, and configure whether the link will open in the same tab or a new one.
- HTML Code: for advanced users who want to insert custom elements using HTML code.
- Timer: to add a countdown timer within your email.
- Columns: columns allow you to separate different sections with distinct settings. To add them, simply drag the columns into the body of the email.
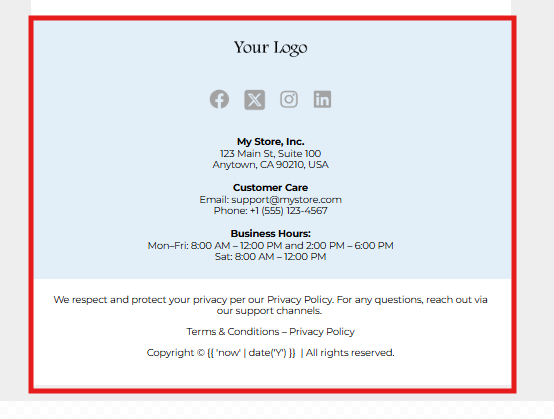
You can also customize the footer. The footer is an important section for inserting contact information and compliance details. The editor offers suggestions and flexibility for personalizing it, such as:
- Add your logo again in the footer;
- Include clickable social media buttons by selecting the platforms and inserting the links.
- Add contact information or business details. It is recommended to modify the suggested text to reflect your company's information.
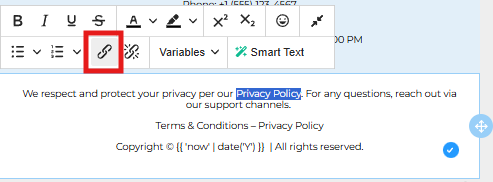
- Include links to the privacy policy and terms and conditions. You can change these links by clicking the link icon next to them. To add a new link, simply select the desired text, click the link icon (chain), and insert the desired link.
- To complete all customizations and save your email, click the Ok button and then click Save.