Introduction
At Reportana, we can integrate Elementor forms into automations simply and efficiently. To do this, we create the integration between the desired form and the automation, using webhooks - for example, the form of a landing page - to a specific automation. In this way, each new submission made on the form will automatically trigger the action configured in the automation, thus creating fast, simplified and automated communication with the customer.
How it works
-
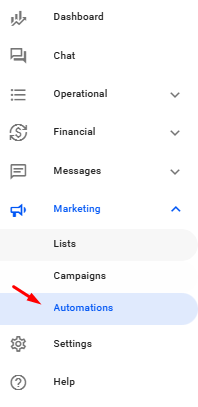
In your Reportana account, navigate to Marketing in the side menu > Automations. Or access: Marketing — Automations
-
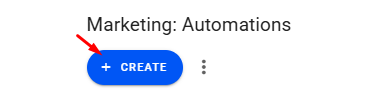
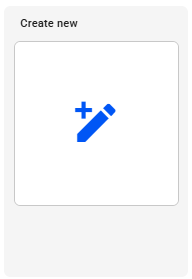
Then click on +Create → Create new and select the Webhook trigger, confirm by clicking Confirm.

-
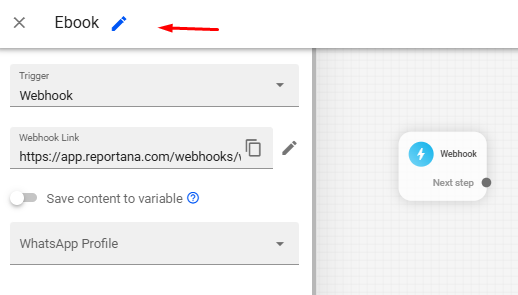
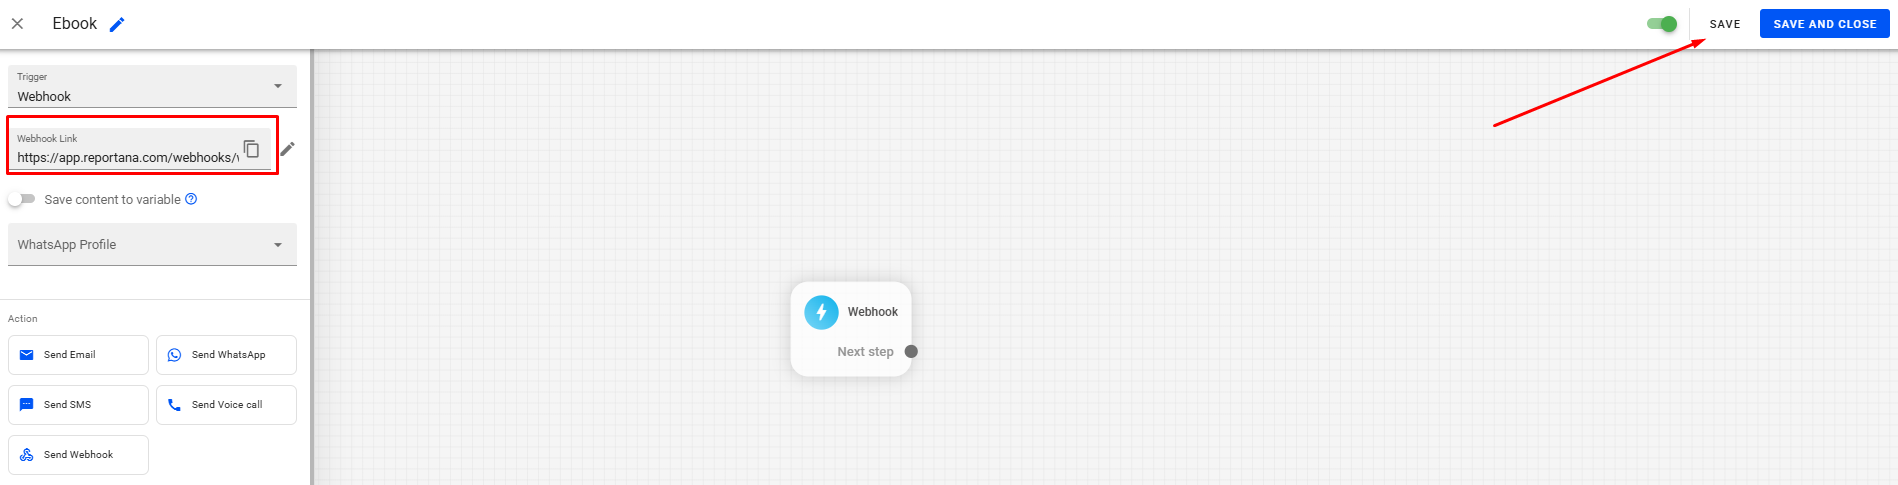
To start setting up, first give the automation a name, like Ebook.
-
Click on Save to generate the webhook link and copy this link.
-
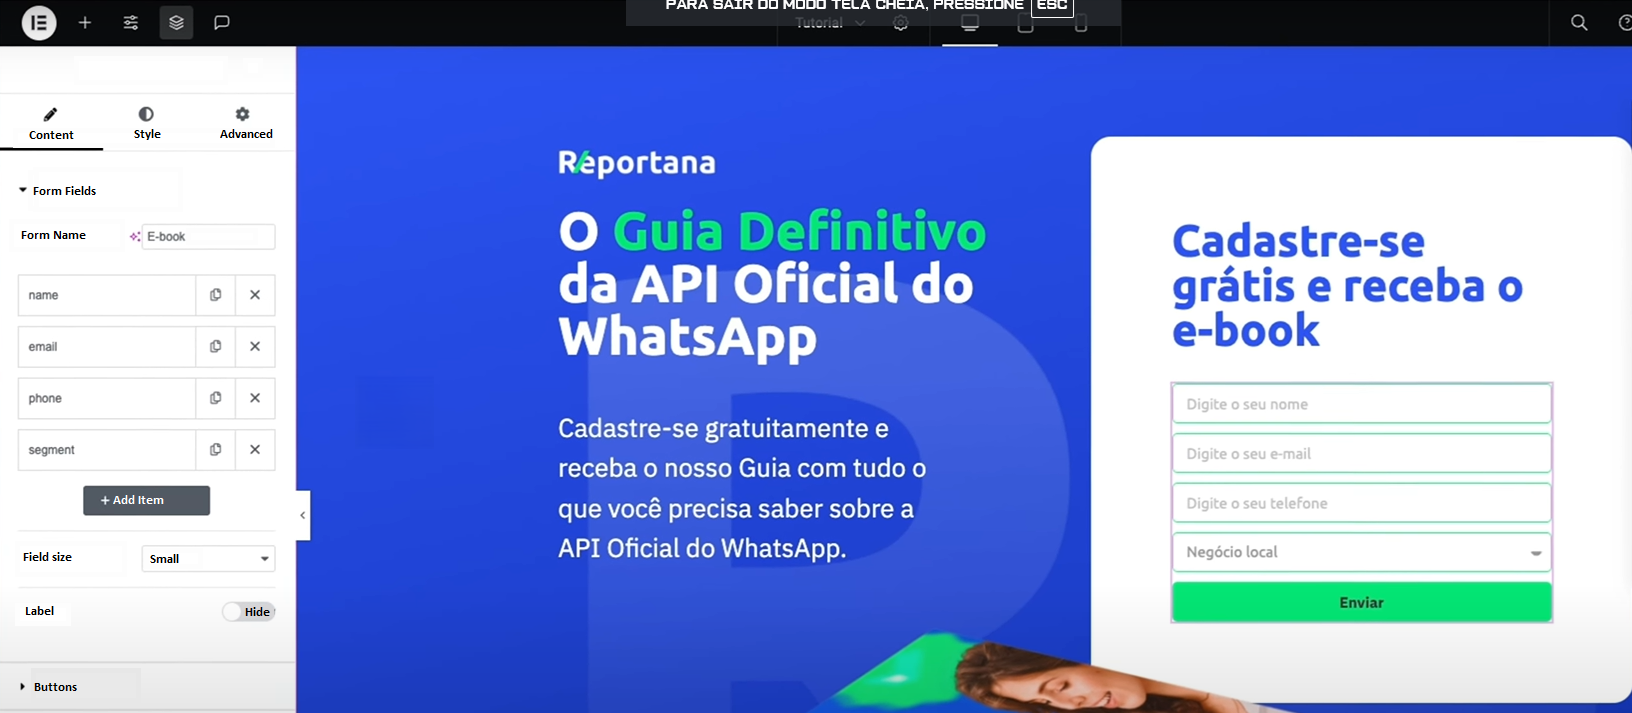
Then access the editor for your landing page in Elementor.
-
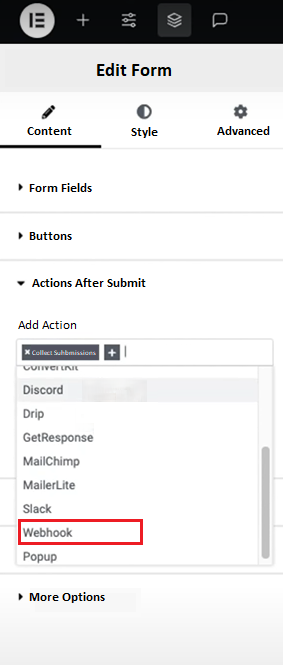
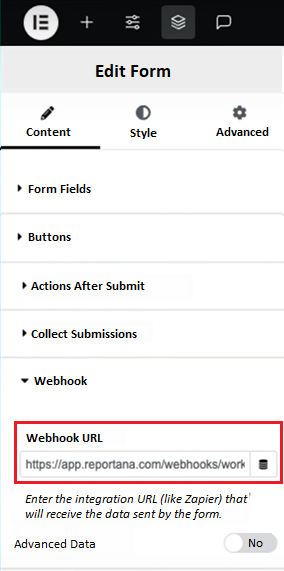
Select the desired form and access its settings. In the actions tab after submission, add the Webhook action and paste the webhook link copied from the automation. Then access the editor for your landing page in Elementor.
-
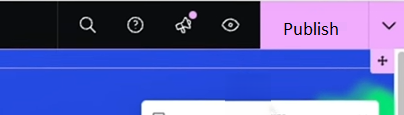
Then click on Publish to publish your page.
-
After the initial setup, go to the landing page, fill out the form with test data (name, email, phone number, type of business), and click send.

-
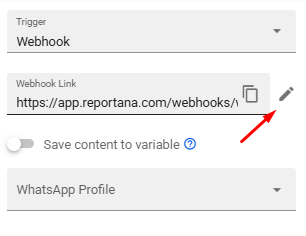
Once the test has been sent, return to the automation in Reportana and click on the pencil icon that appears in the Webhook Link field to check that the information has been received.
-
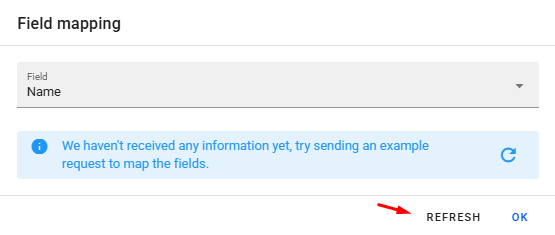
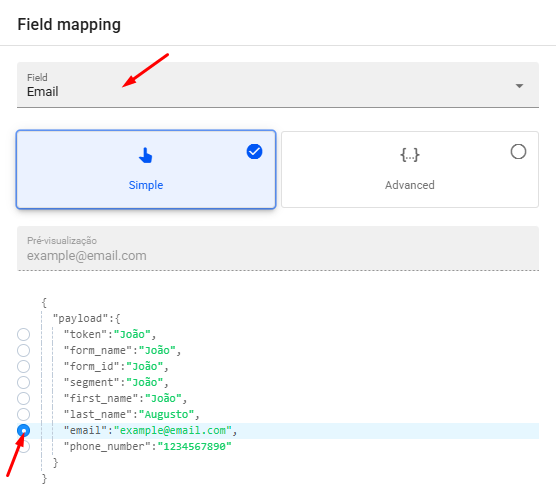
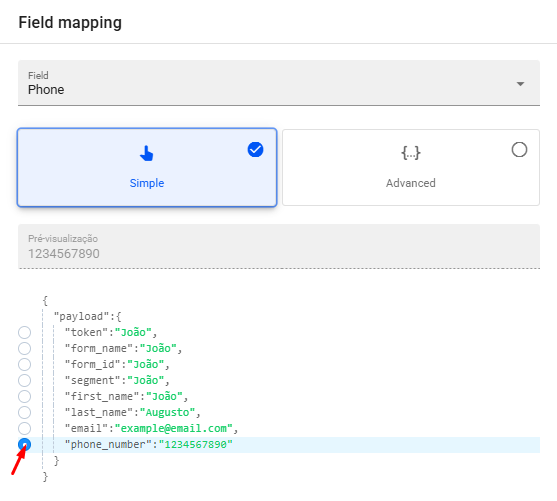
As soon as the Field Mapping window opens, click on the refresh button to map the necessary fields: name, e-mail and phone.
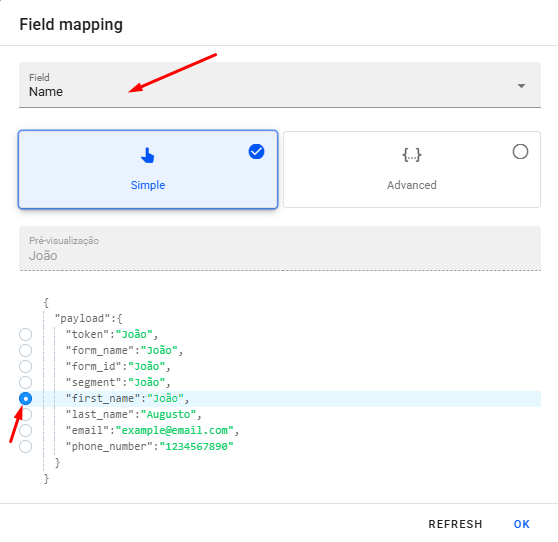
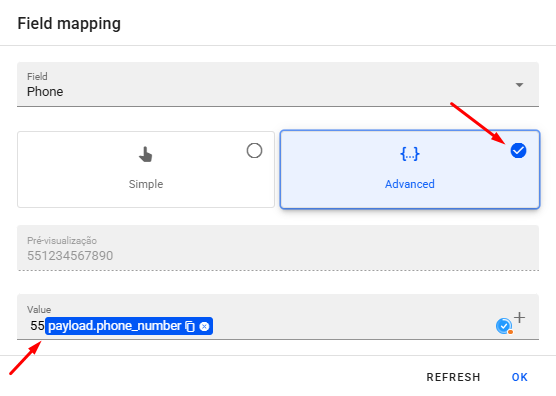
Note: If your form doesn't have it, you must add the country code before the phone number. To do this, just click on Advanced in the field mapping, add the country code and then click ok. Example: 55 for Brazilian numbers.
-
With the landing page form integrated into the automation, the next step is to add leads who sign up to a list. This list will be created so that the data of the leads that come through this form can be kept in your Reportana account.
-
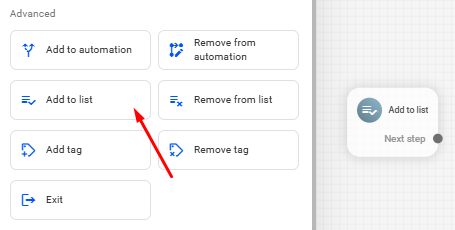
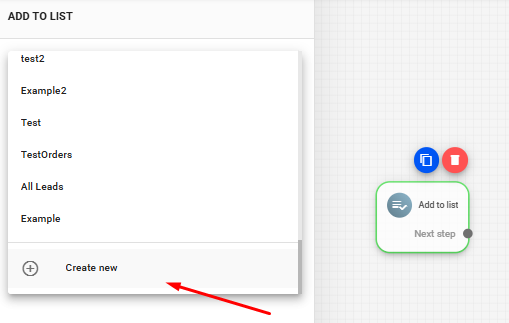
Add a new Add to list block to your automation. Then, with the Add to list block selected, click on Create new to create a new list.
-
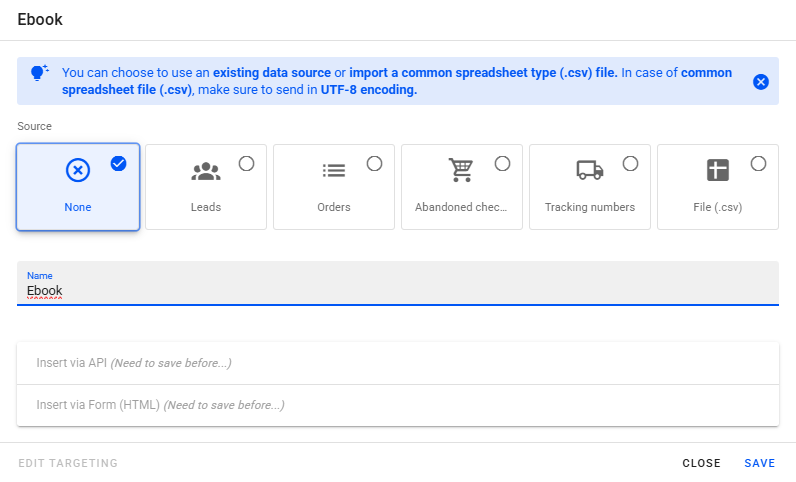
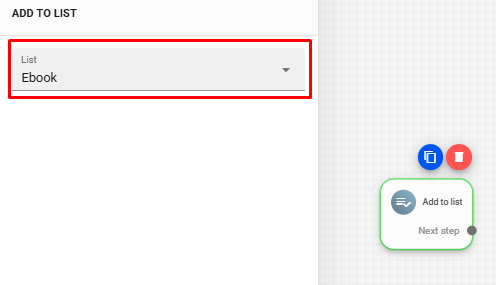
To set up your new list correctly, select the source None, add a name, for example, Ebook and click Save. Then confirm that the list is selected correctly.
-
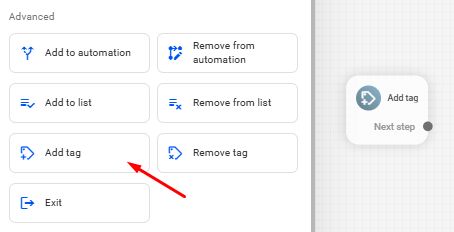
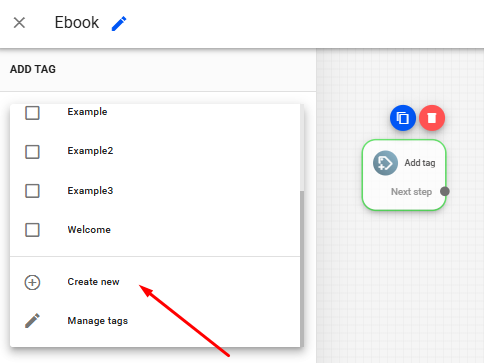
We can also assign a label to identify the lead that will enter your Reportana database via the form on your landing page. To add a label to this automation, click on the Add tag option in the side menu.
-
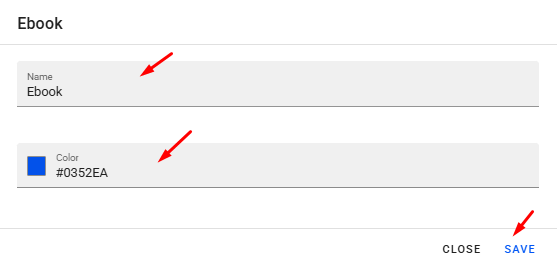
Select the Add tag block and click Create New to create a new tag. Then give your tag a name, for example “Ebook”, choose a color and click Save.
-
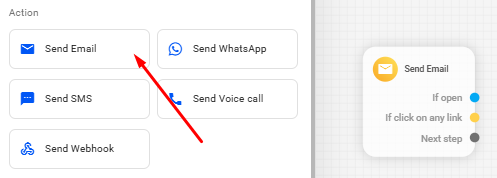
To finish configuring the automation integrated with Elementor, right-click on the automation and select the Send E-mail block or select from the side options.
-
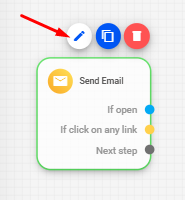
Select Send Email and click on the pencil icon to create a new email template.
 Note: You can also use our available email templates or create a new template from scratch. To learn more about our email editor, we recommend the tutorial Getting to know the Email Editor.
 -
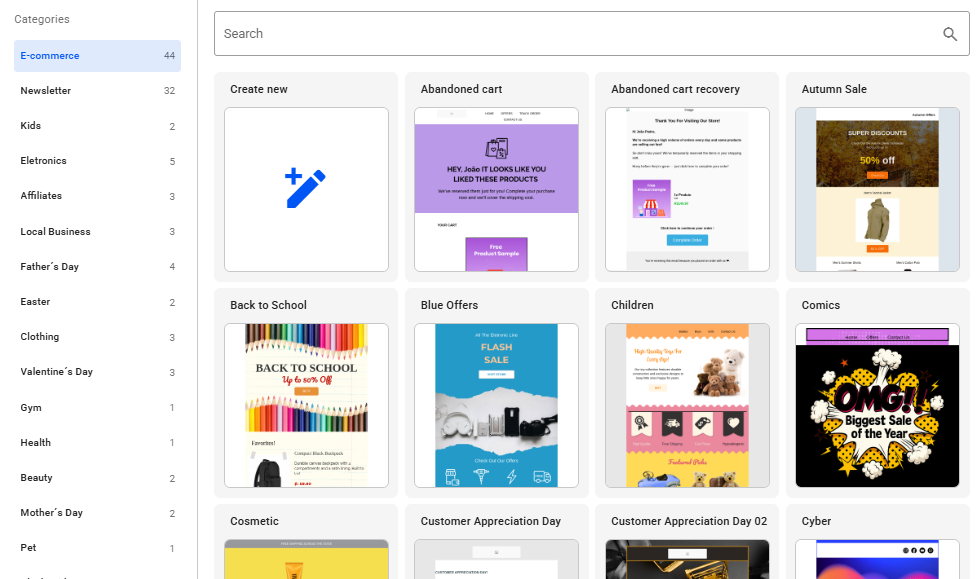
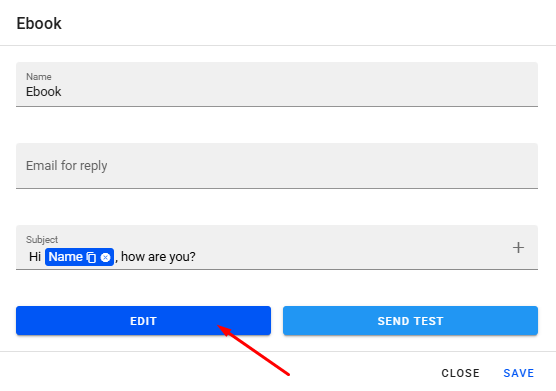
In our example, we will use the initial template, i.e. by selecting the option Create new. Once you have selected the option you want, give the email template a name, for example “Ebook”, define an email address to reply to, the subject and click on Edit.
-
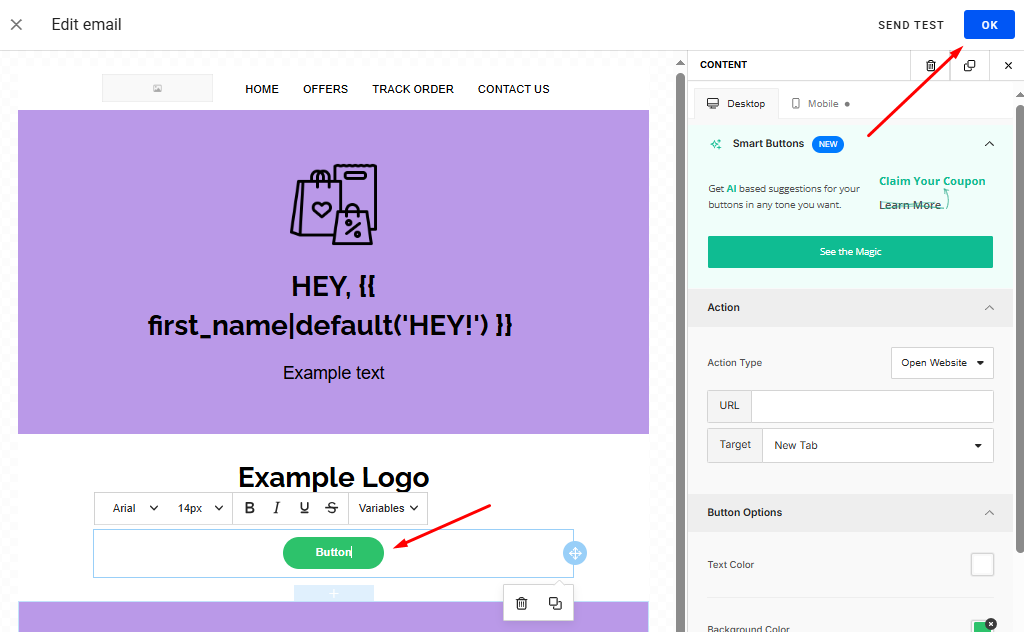
In the email editor, we can include the ebook download link in a button and click Ok → Save to save the edits made to the email template.
-
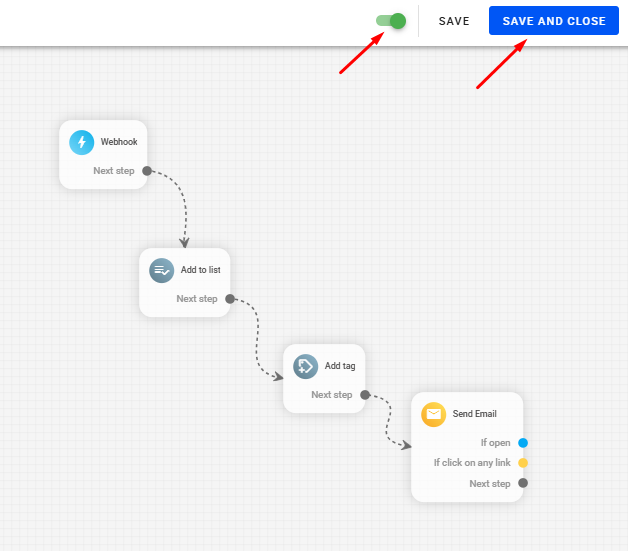
Once the changes have been made, activate the automation and click on Save and close.
-
Finally, we recommend carrying out the necessary configuration tests. To do this, return to your landing page, fill in the details and send a new test.

-
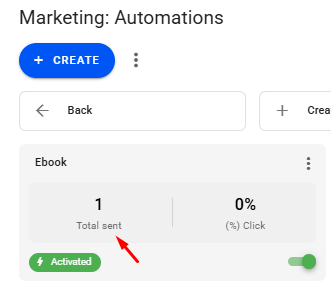
Go back to Reportana, on the automations page, refresh the page and check that it has been sent.
-
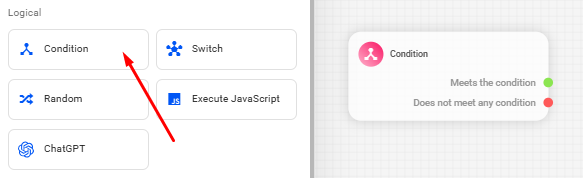
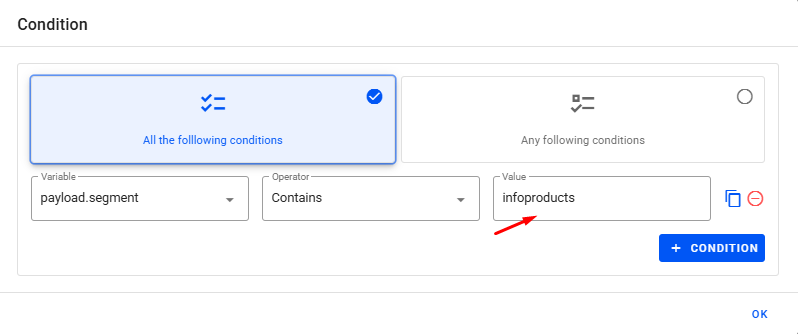
We can further customize the automation, for example by adding conditions. To do this, in the configured automation, insert a new Condition block.
-
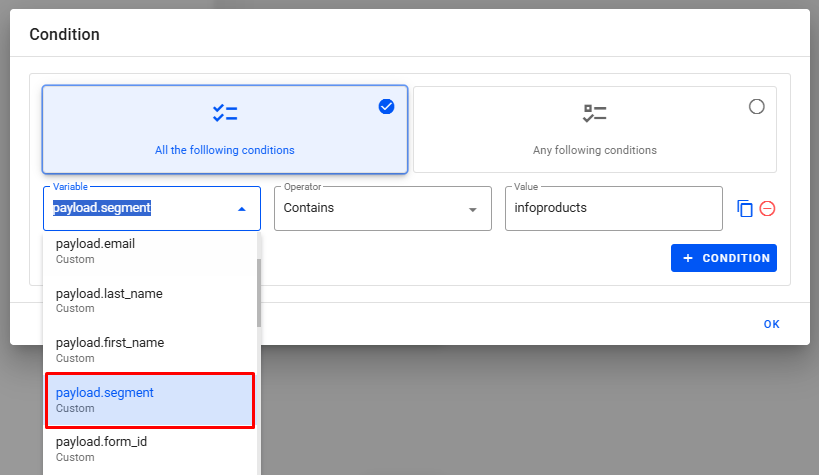
Configure the condition by choosing the variable corresponding to the business segment, for example. Then select the Contains option and enter the desired value. Under Value you need to enter the value related to the desired field on the form, in this example we used infoproducts. Go back to Reportana, on the automations page, refresh the page and check that the submission has been made.
-
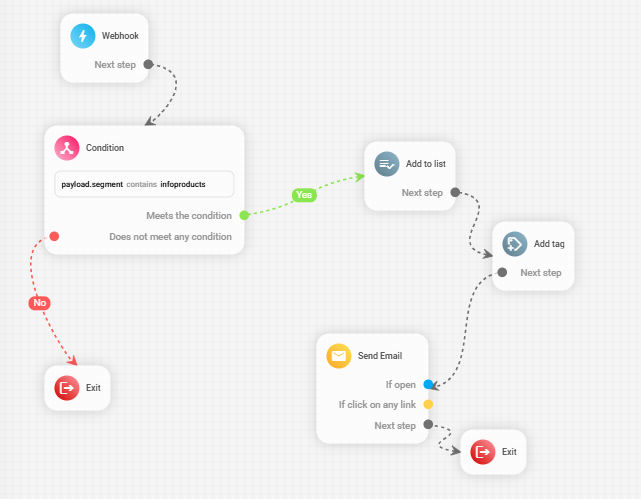
Connect the condition to the automation flow, using the available sub-triggers. That way, if the lead meets the condition, it will be directed to the specific actions (add to list, tag, send email). Otherwise, the automation can be terminated or follow another path in the automation.
-
Once you've finished editing, click Save again so you don't lose the changes you've already made to the automation.
