Introduction
WhatsApp messages with interactive buttons allow you to create more dynamic, practical, and automated conversations with your customers. In this guide, you’ll learn how to set up button-based messages using the Reportana platform — from crafting the message content and button options to implementing them in automated workflows. This feature is perfect for organizing customer interactions, guiding responses, and delivering a faster, more personalized experience to your leads.
How It Works
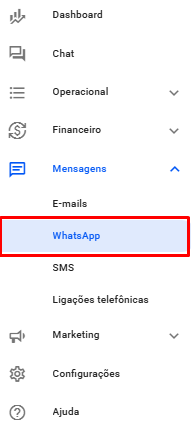
In your Reportana account, navigate to Messages in the side menu → WhatsApp. Or access: Messages
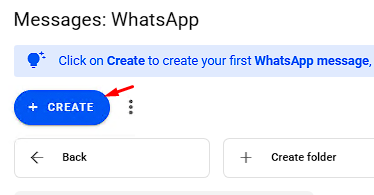
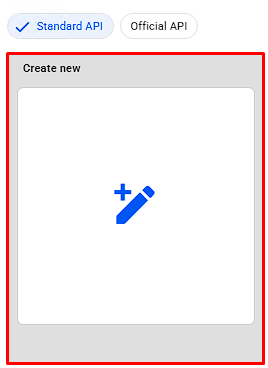
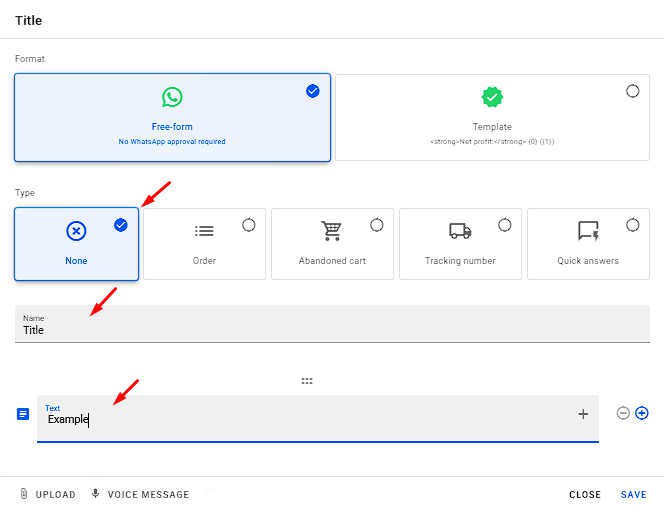
Then, click on +Create → Create New to open the message creation window.
Select the message type as None, and enter a title and the message content in the corresponding fields.
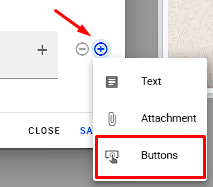
To add buttons, click the + symbol on the side of the editor → Buttons.
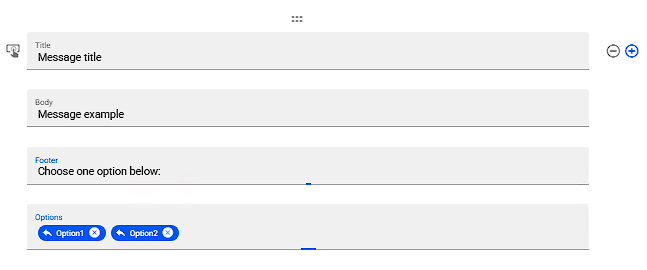
In the options that follow, you can customize your message with the following elements:
- Title: This text will be displayed in bold.
- Body: The main content of your message.
- Footer: This text will appear in italics.
- Buttons: Simply type the options you want to include and press "Enter" to add each one. You can add up to 3 options.
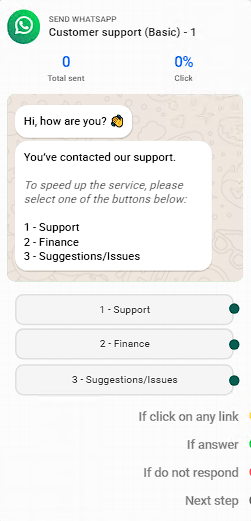
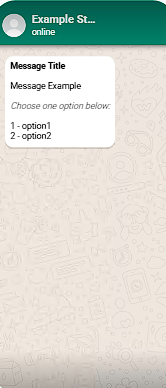
On the right-hand preview panel, you’ll be able to see a real-time preview of the message you’ve created. The buttons are displayed as numbered options that your customer can reply to by sending the corresponding number.
Note: If you want to learn more about building WhatsApp messages, check out our tutorial: Exploring the WhatsApp Message Editor
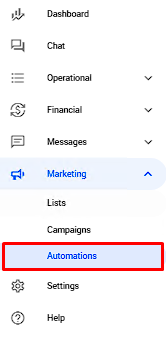
Messages with buttons can only be sent through automations. In your Reportana account, go to Marketing in the side menu → Automations. Or access: Automations
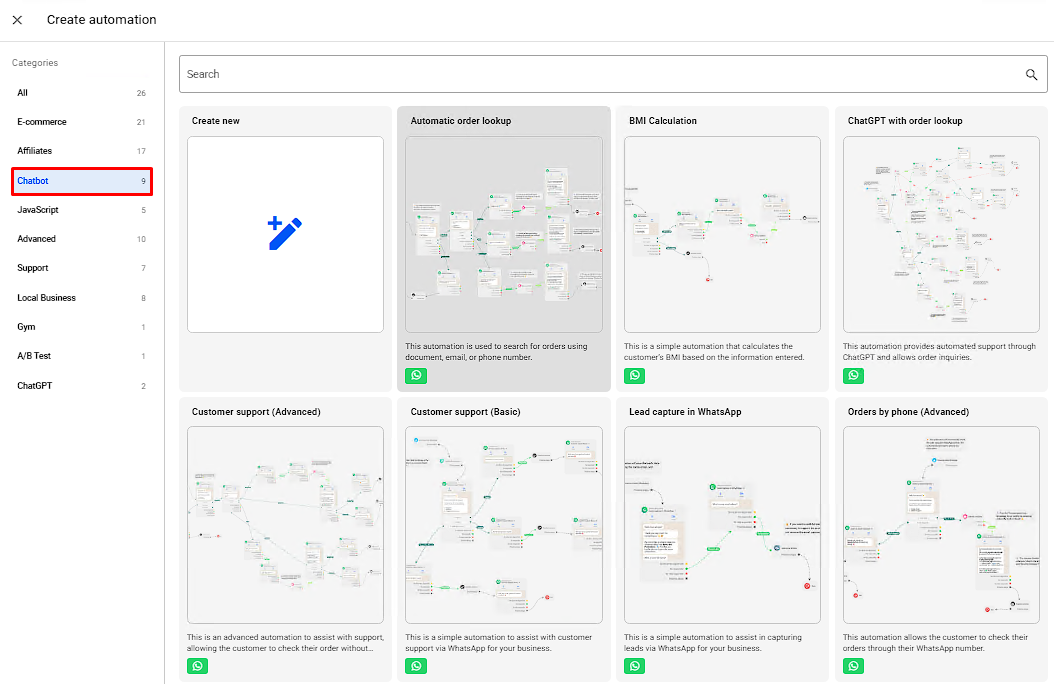
Click on +Create → Create New to start building a new automation. You can also use one of our templates — under the ChatBot category you’ll find workflows that use button-based messages, which you can adapt to your needs.
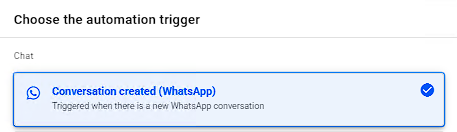
When creating a new automation, select the Conversation Created trigger. This will cause your automation to activate when a customer initiates a conversation.
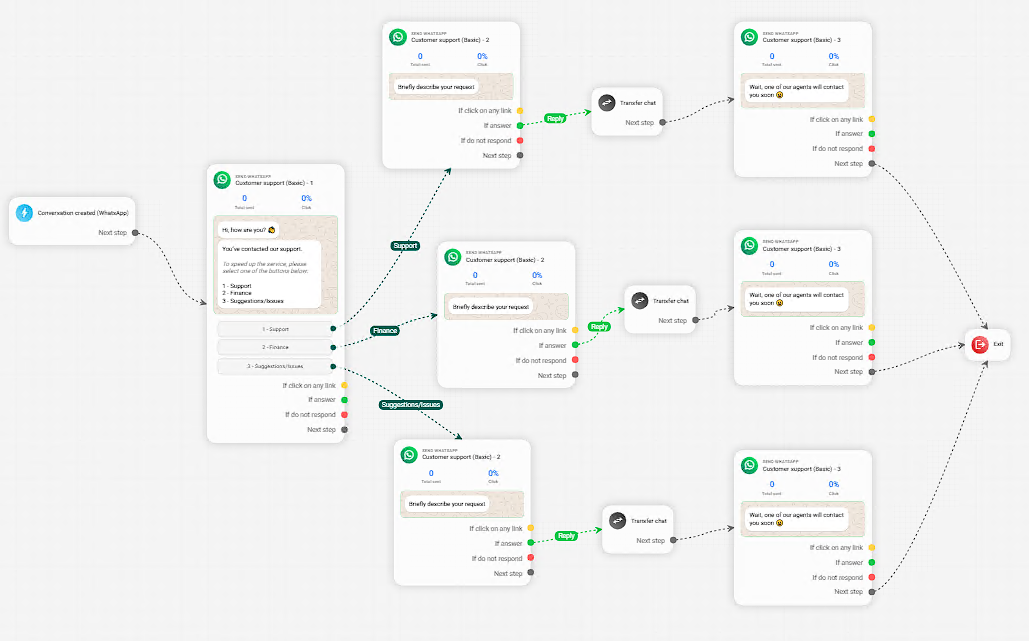
By using messages with buttons, you can build complete automated service flows. Simply insert your message and map out the respective paths for each button option.
Once the connections are made, save and activate your automation.
Note: If you want to use other triggers or learn more advanced automation building techniques, we also recommend this article: Exploring the Automation Editor