Introduction
In this article, you will learn how to use Reportana's automation editor to create personalized communication flows with your leads and customers. The content explains how to access the editor, choose a ready-made template or start from scratch, configure messages, triggers, filters, and connections. By the end, you will know how to create and activate automations in a practical and effective way, leveraging all the platform's features.
How It Works
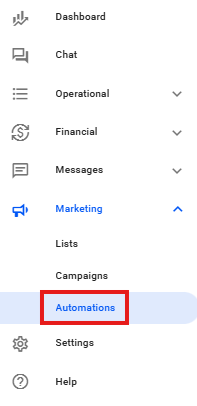
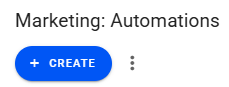
Access the Reportana platform and navigate to the Marketing → Automations tab.
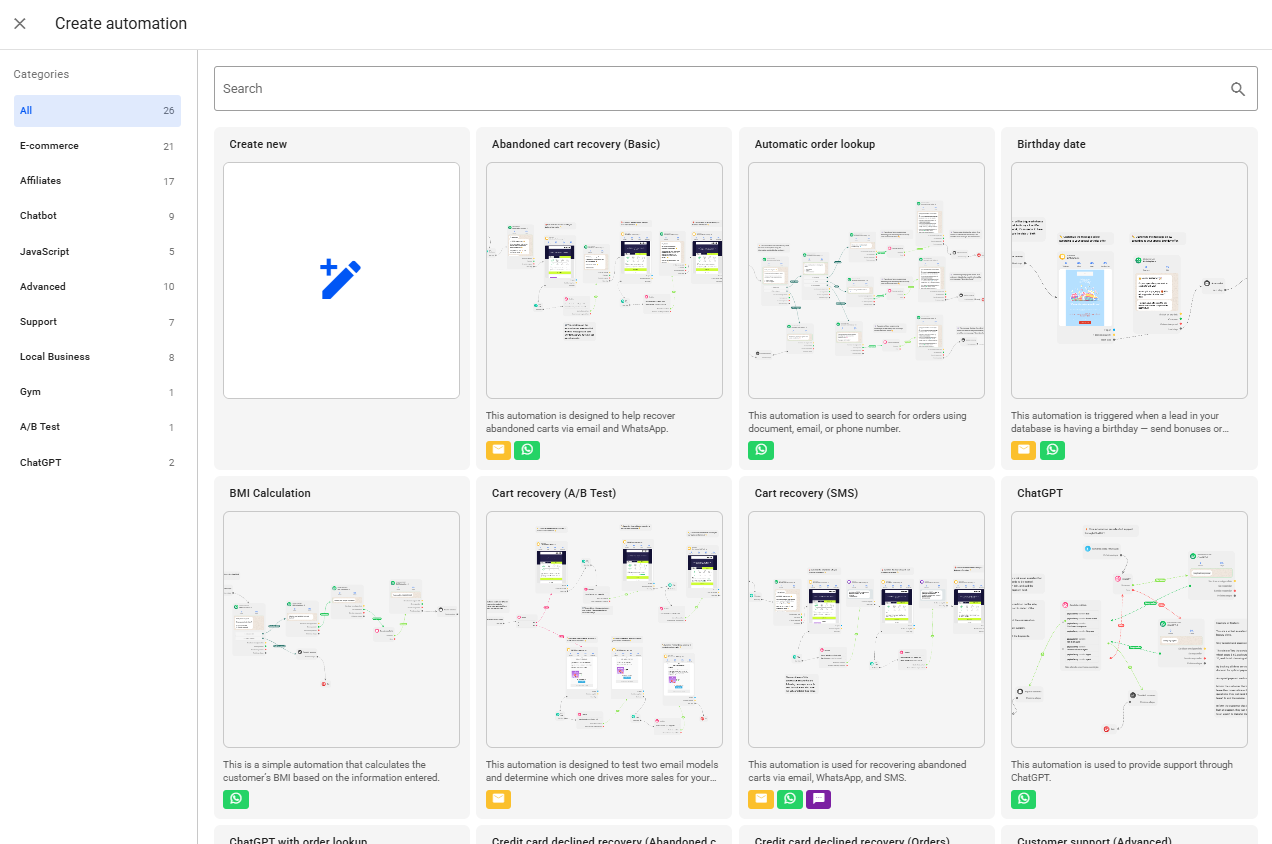
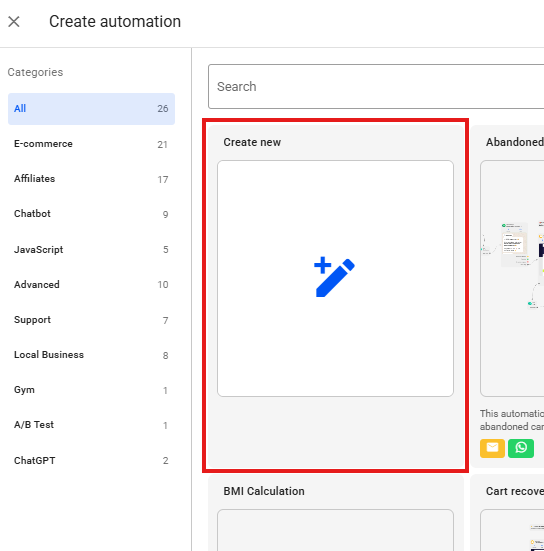
By accessing the Automations tab, you can select one of our ready-made Templates by clicking on +Create. Review the description of each automation template to identify which one best fits your business needs.
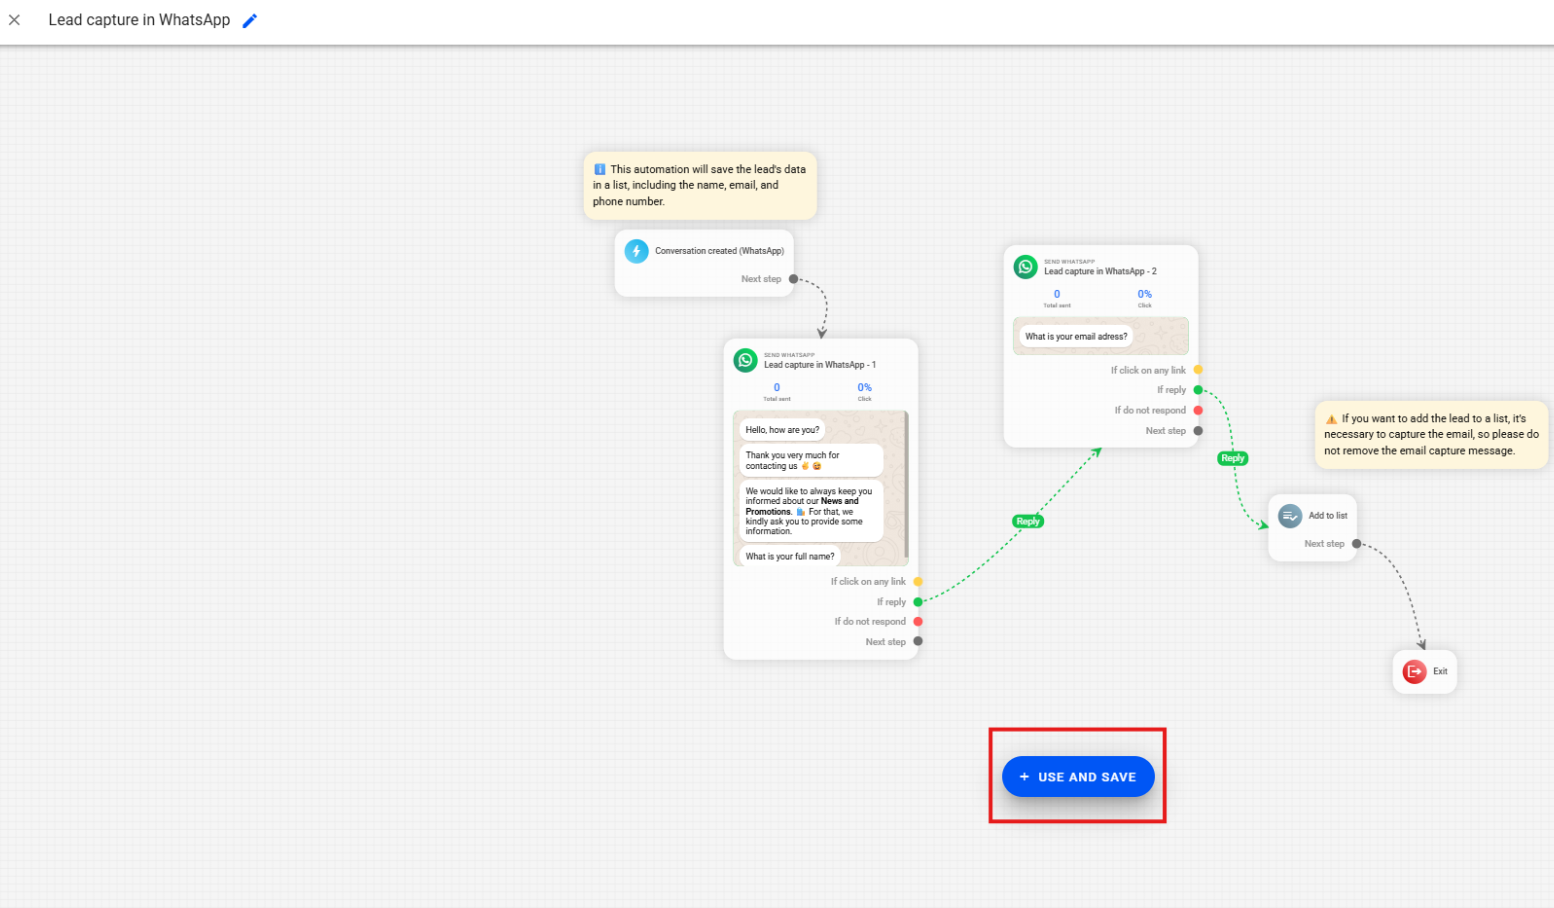
To use one of the templates, double-click on the desired template → Then, click on + Use and Save. By saving a template, all messages and emails contained in it will be automatically saved to your account.
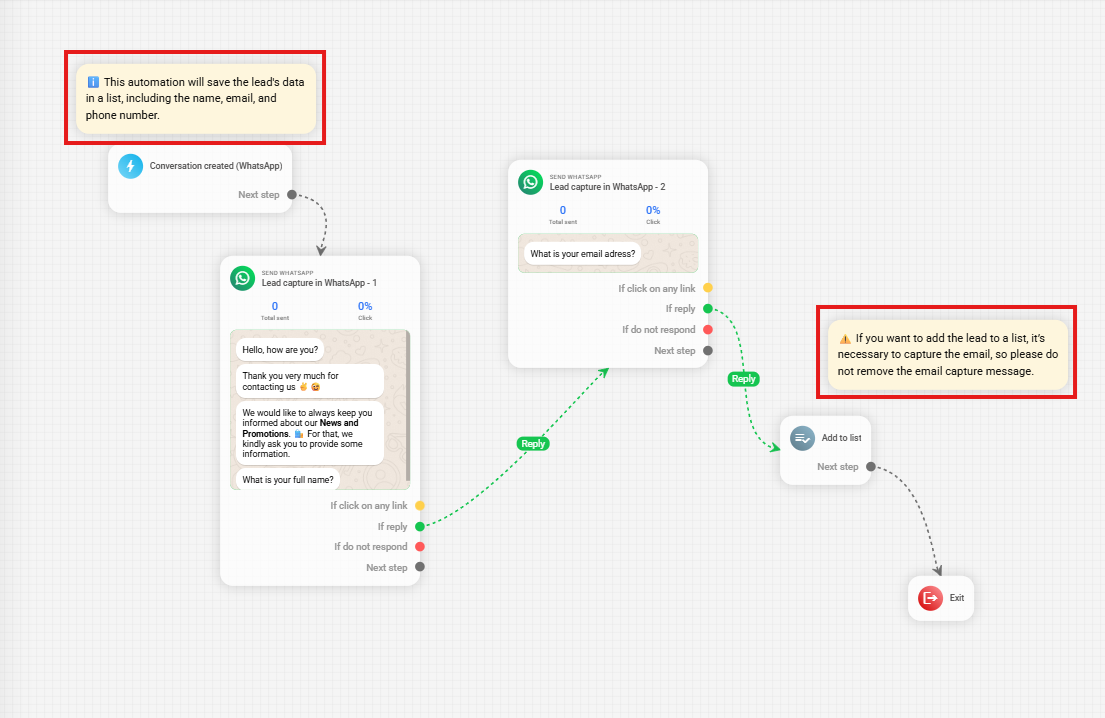
Within the templates, you will find Notes indicating which customizations should be made so that the automation reflects your brand identity. Follow the recommendations in these notes to adjust the automation. After customizing, click Save and Close.
If you choose to start an automation from scratch, click on Create New. The automation editor will open.
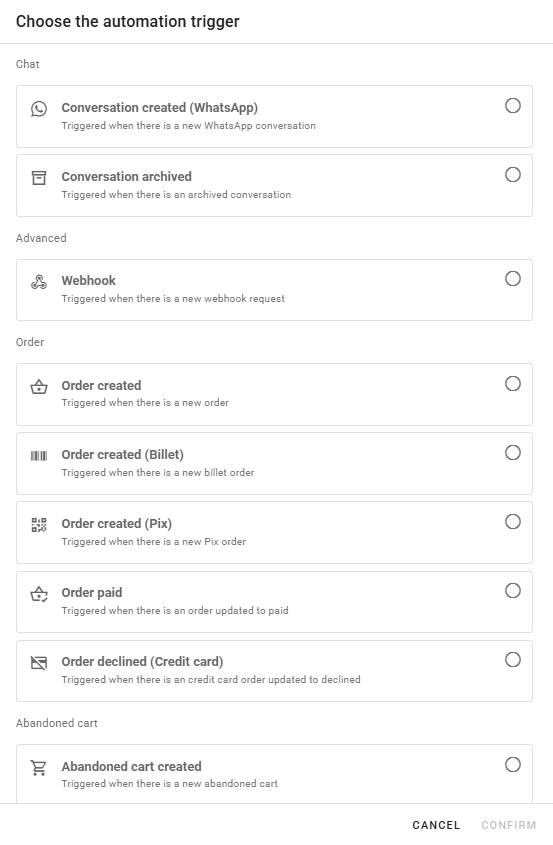
The first step is to select the Trigger that will activate your automation, according to the type of delivery you want to perform.
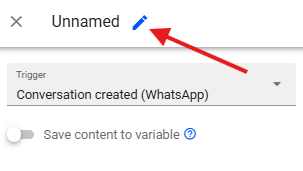
Next, assign an Identification Name to your automation.
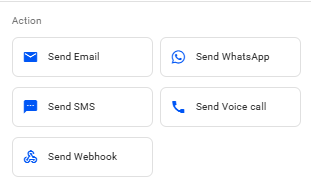
After setting the trigger, you will need to define how your message flow will be delivered in the Action section. You can add various types of deliveries such as emails, WhatsApp messages, SMS, and voice calls. There is no limit to the number of messages you can include in your automations. Messages can either be pre-configured or created directly within the automation editor.
Actions
Email Block
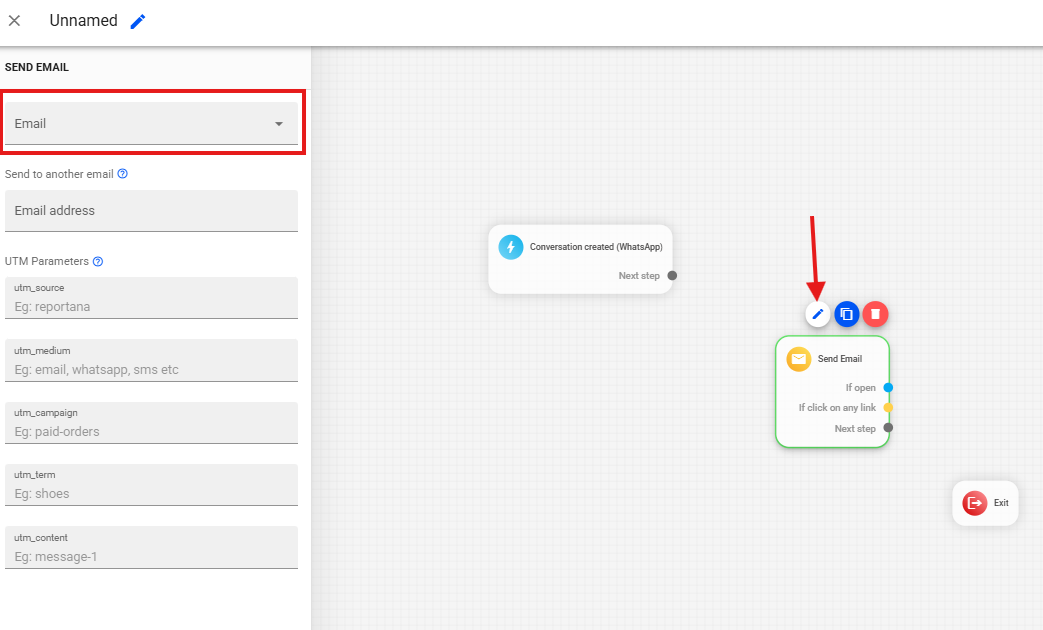
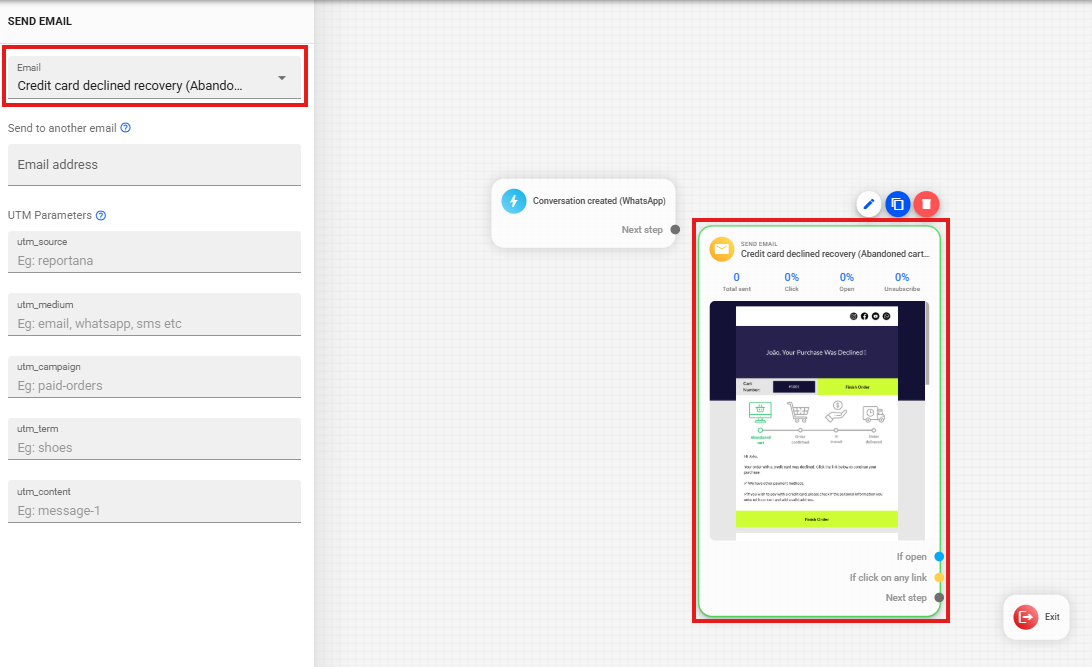
Adding/Creating Email: When adding an email block, you can create a new email or select an existing one.
Preview: when selecting a ready-made email, you can view a preview of it.
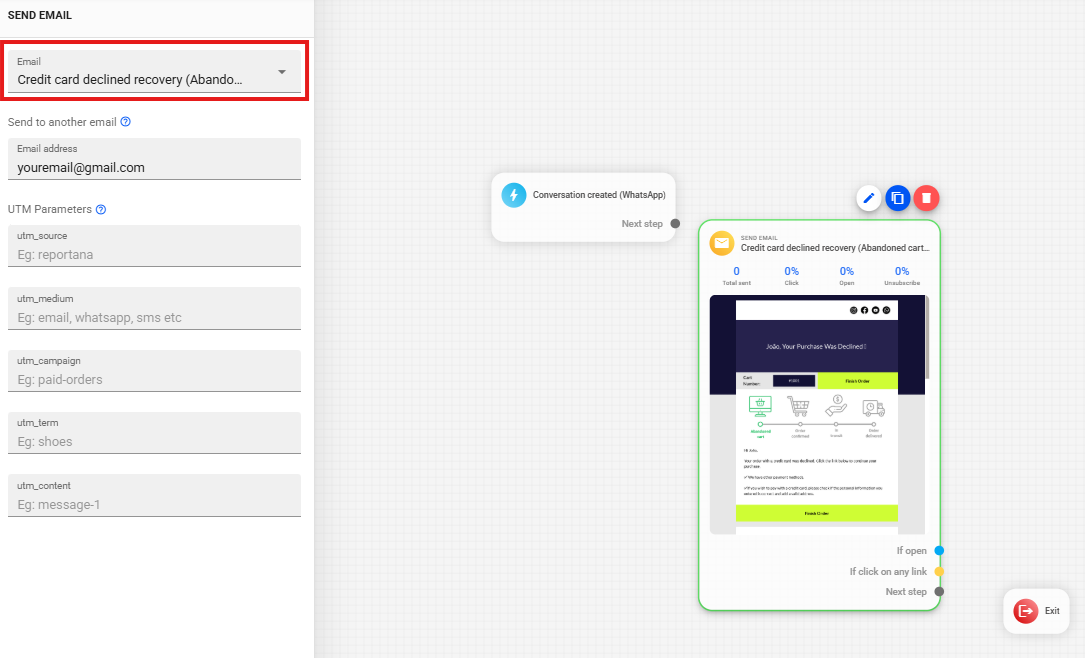
Send to another email: enter an email address to receive all sends from this automation, used when the owner needs to receive the dispatch instead of the client (e.g., Taxed Order Notification).
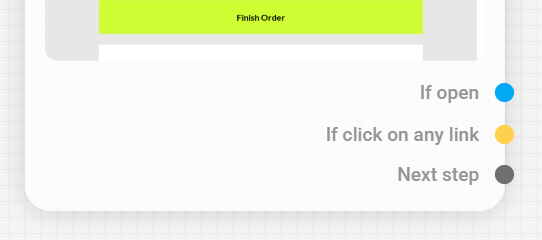
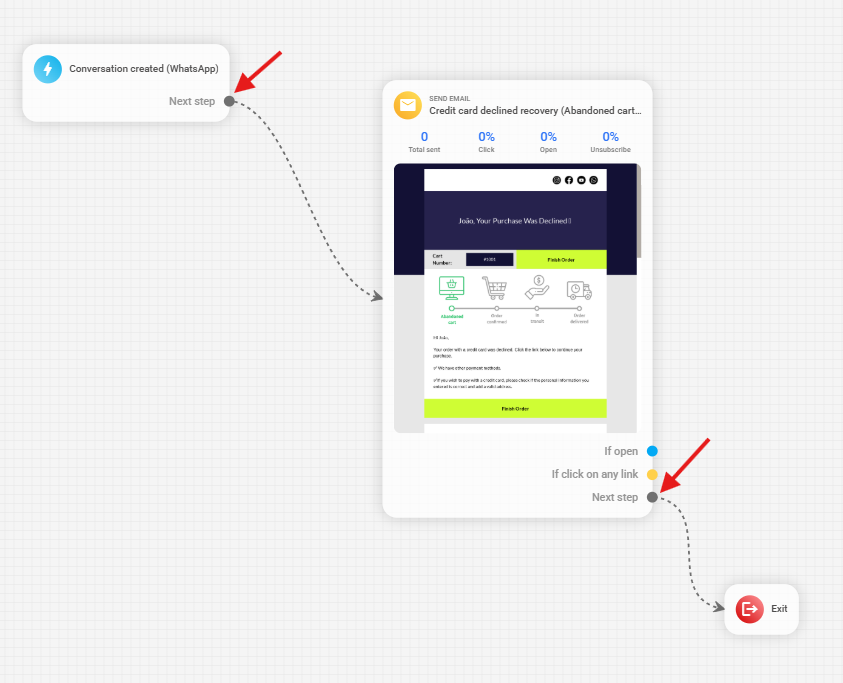
Email Block Outputs: the email block has three distinct outputs.
- Output to "Next step" directs all leads to the next step, regardless of whether they opened or clicked.
- Output to "If open" directs only leads who opened the email.
- Output to "If click on any link" directs leads who clicked any link within the email.
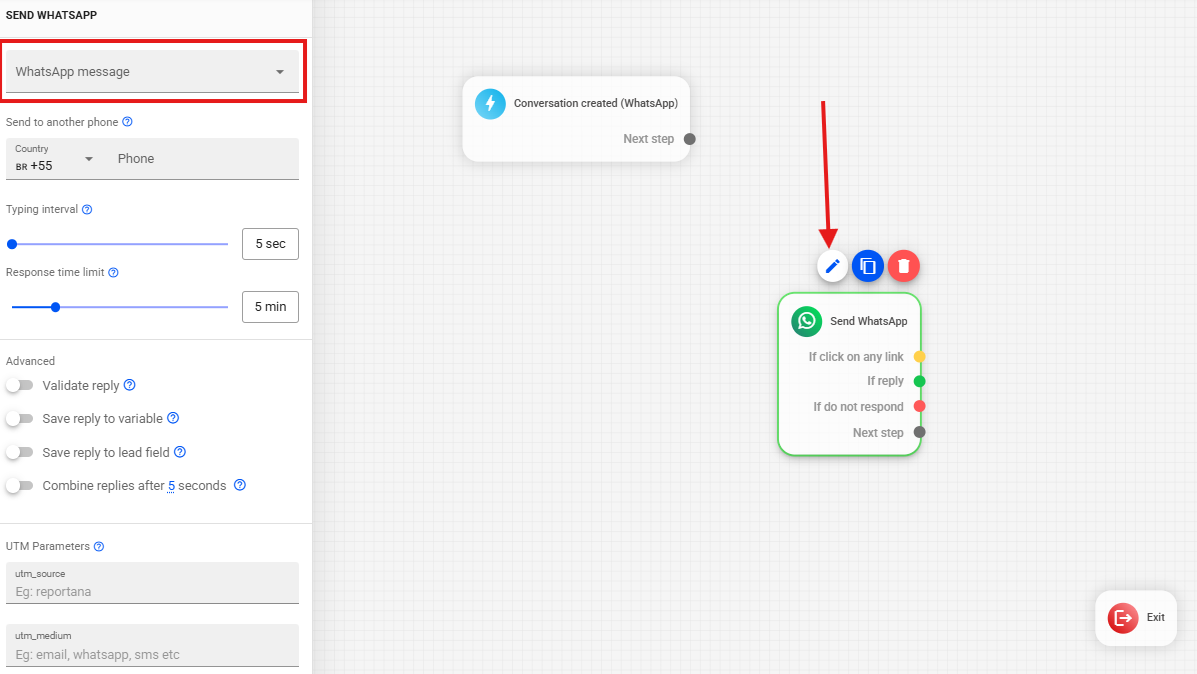
WhatsApp Block
Adding/Creating Message: you can create a new message or select an existing one.
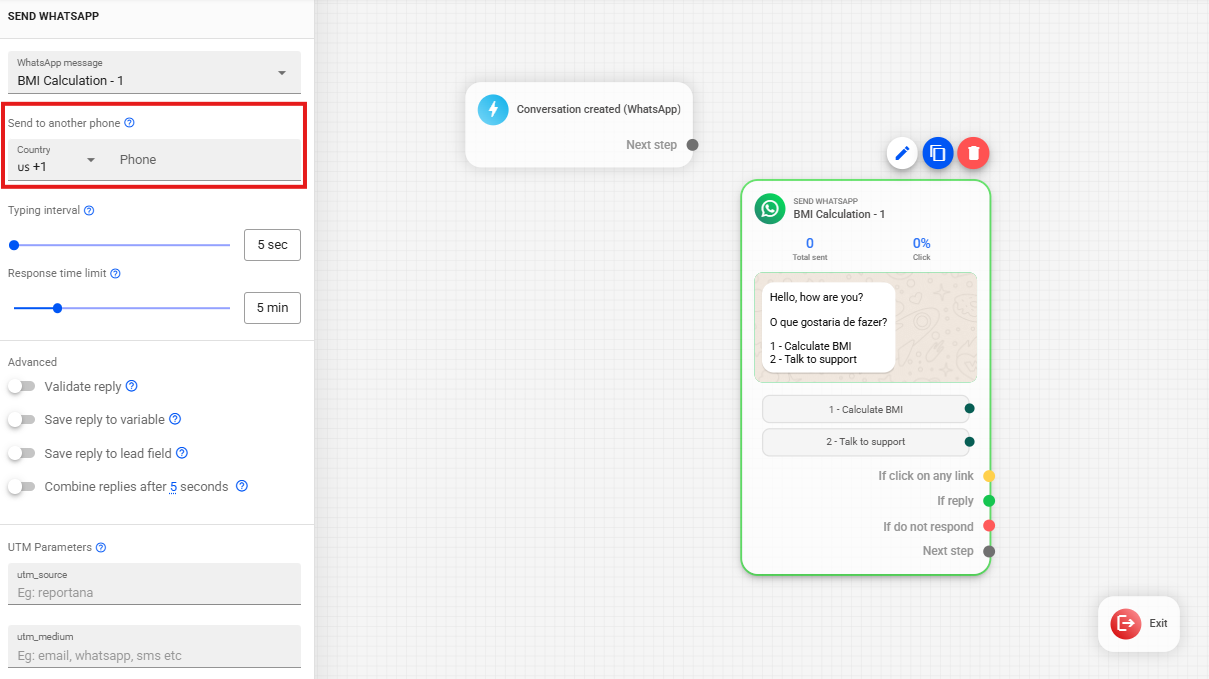
Send to another phone: enter a phone number to receive all sends from this automation, used when the owner needs to receive the dispatch instead of the client (e.g., Taxed Order Notification).
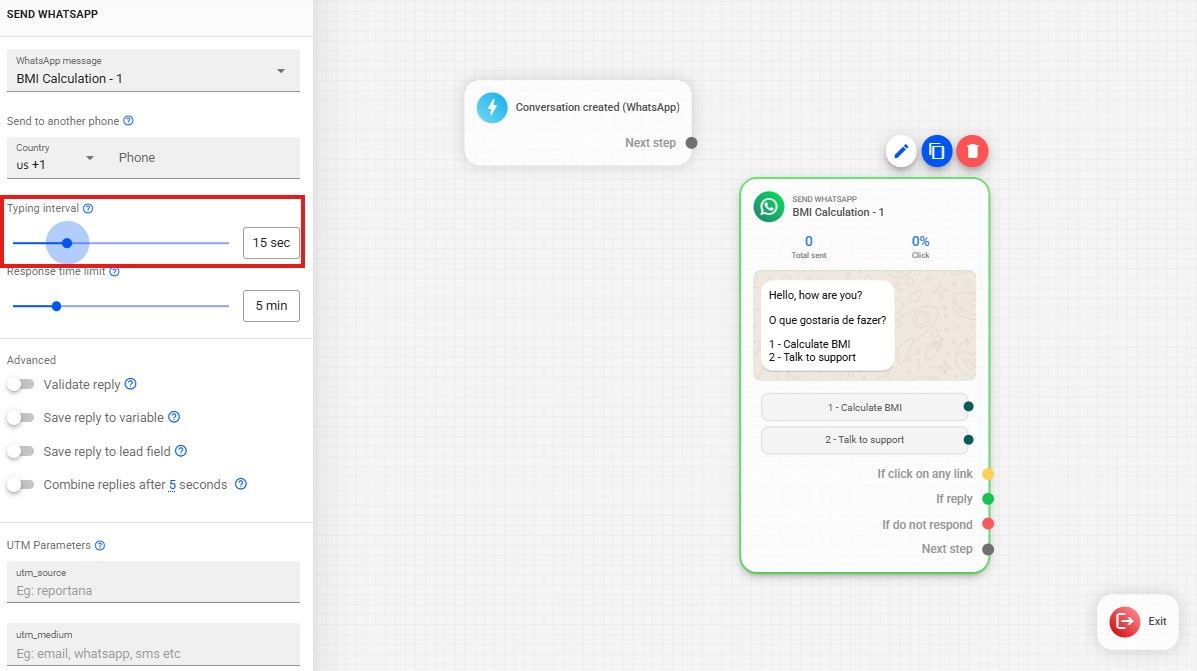
Typing Interval: in the side menu, you will find the Typing Interval option, which defines how long the "typing" status will appear to your client before the message is sent.
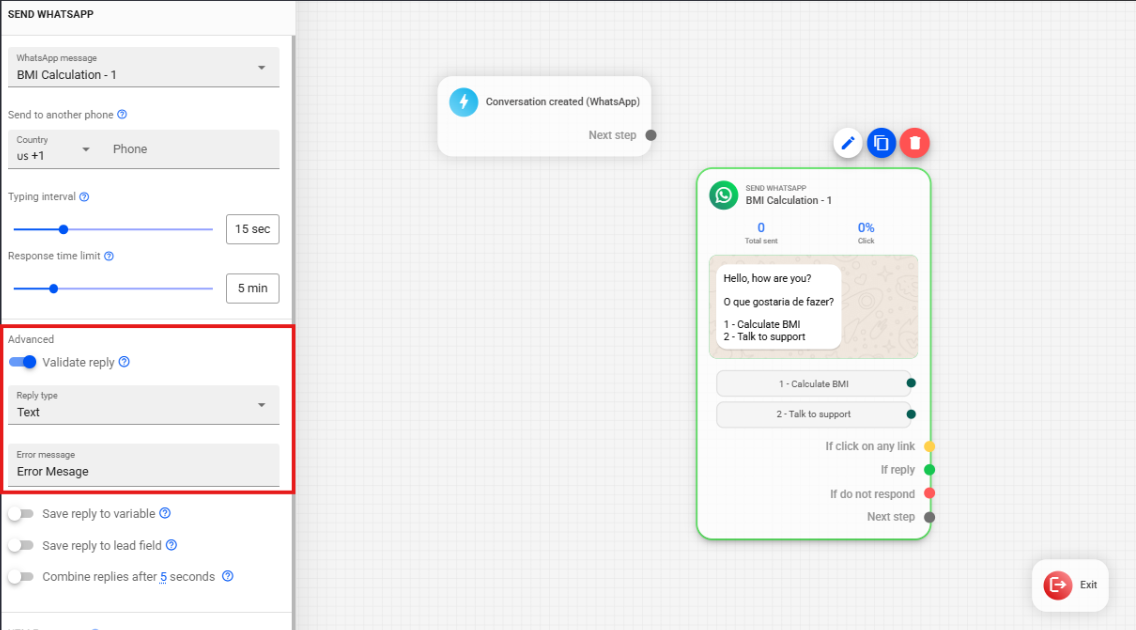
Validate Next Response: you can define the type of response your client must provide in the next message (e.g., full name).
Error Message: add an error message in case the client’s response does not meet the validation (e.g., "Please provide your full name").
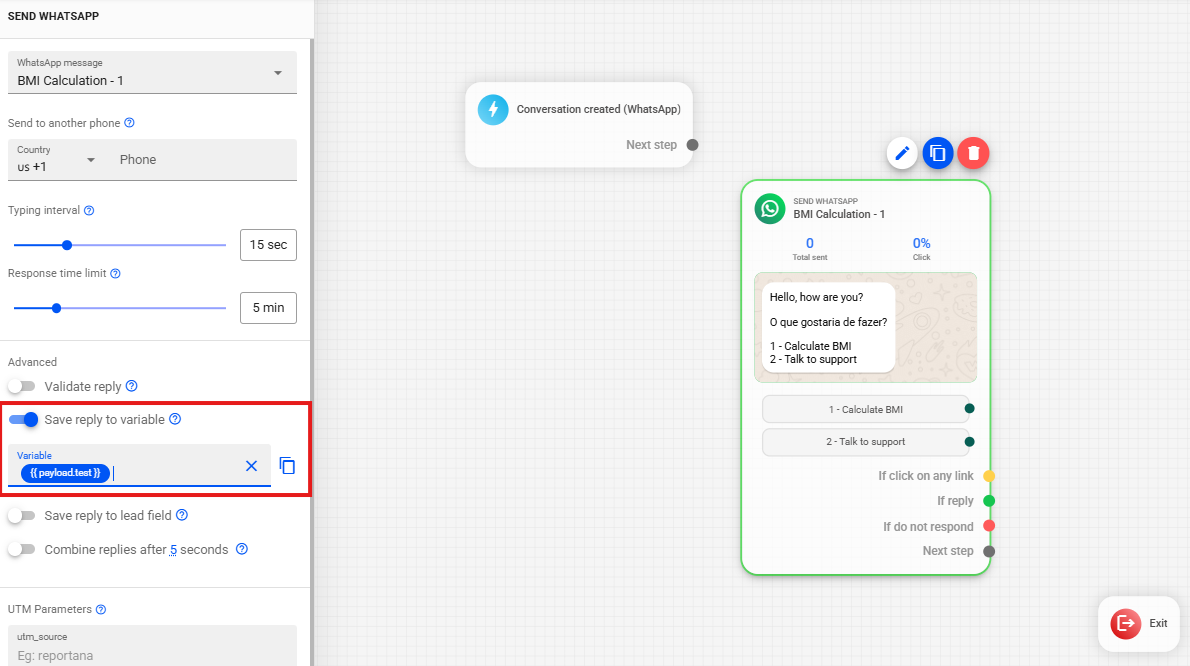
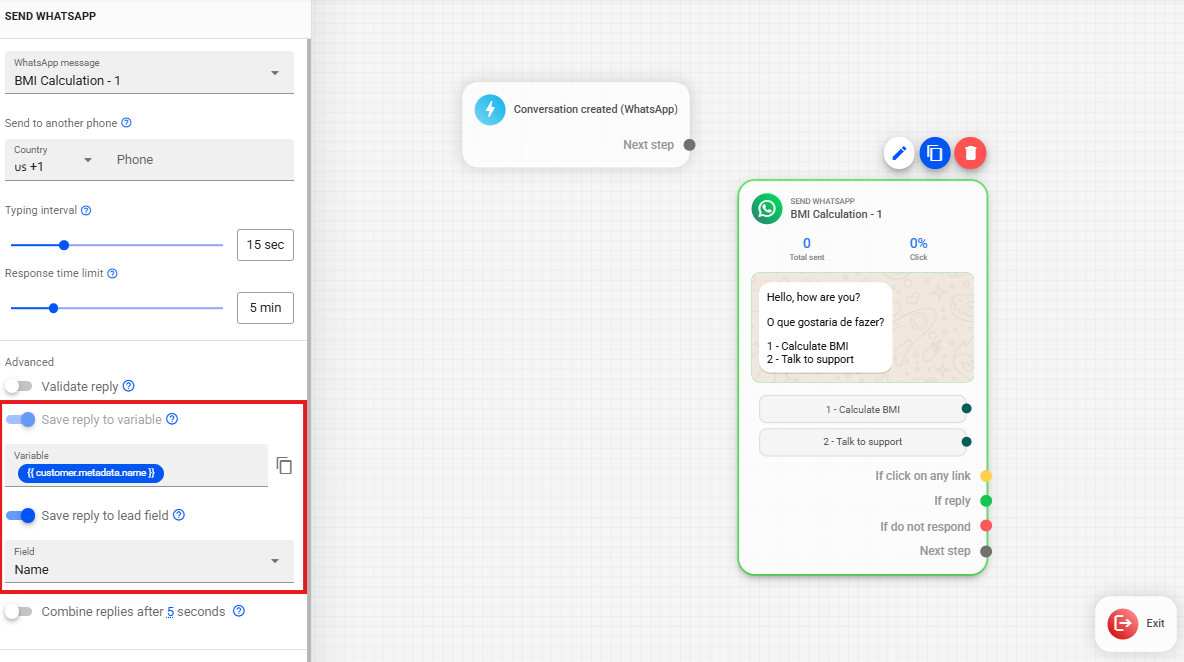
Save Response as Variable: the client's response can be saved as a variable to be used throughout the automation. To change the variable name, simply type the new name and press "enter." To use the variable in a message, just paste it into the text (e.g., the typed name will appear in place of the variable). It is also possible to use these variables in JavaScript code.
Save Response in Lead/List Field: to save the user's response in a list, add or save the response to a lead field and select the type of response the client will provide (e.g., client's name and email, with the phone number being automatically saved in a list).
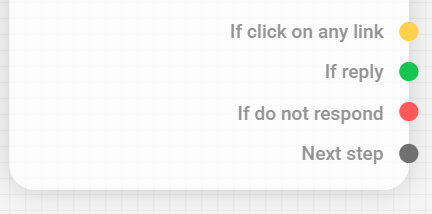
WhatsApp Block Outputs: WhatsApp blocks have four outputs.
- Output to "Next step": automatically directs the lead to the next step in the automation, regardless of response.
- Output "If reply": continues the automation only if the lead provides any response.
- Output "If do not respond": continues the automation after a pre-configured period of client inactivity is detected.
- Output "If click on any link": directs only those leads who clicked on any link present in the message.
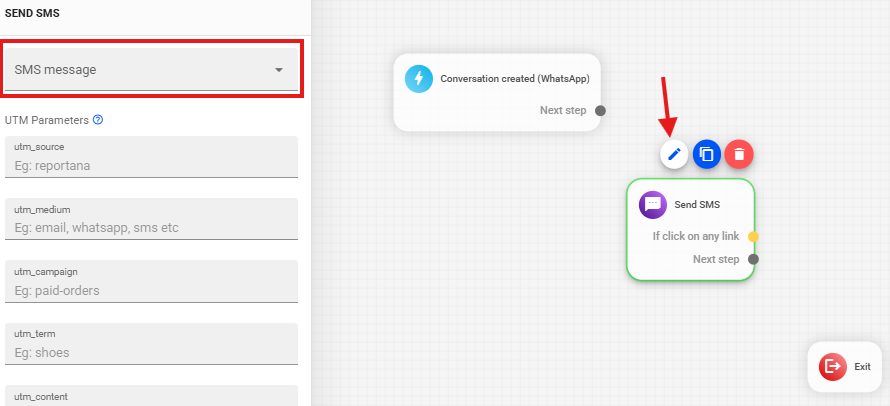
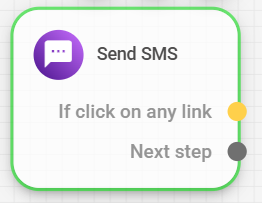
SMS Block
Adding/Creating Message: you can create new messages or select an existing message.
SMS Block Outputs: the SMS block has two outputs.
- Output to "Next step" directs all leads to the next step in the automation.
- Output "If click on any link" directs only those leads who clicked on any link present in the SMS.
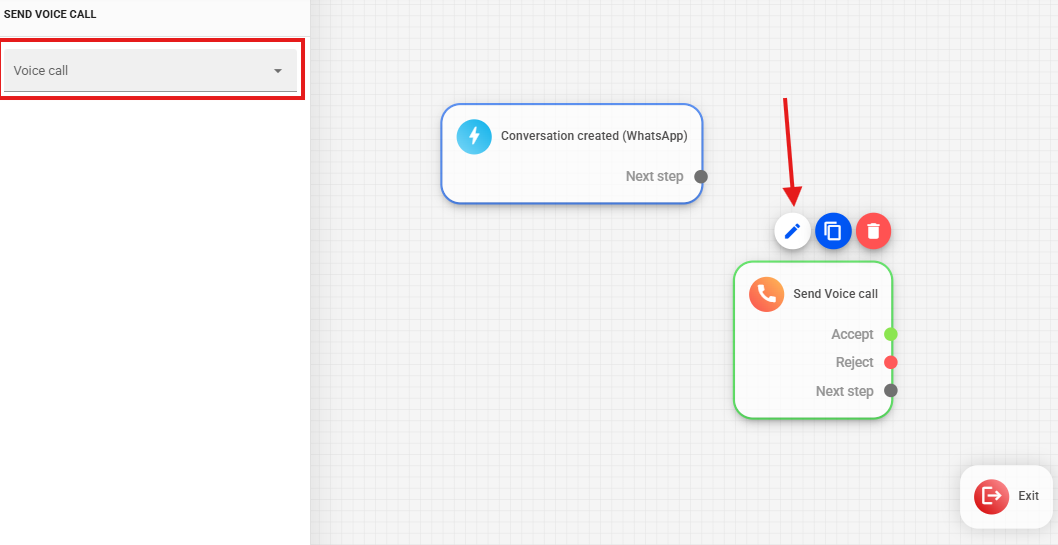
Phone Call Block
Adding/Creating Message: you can create new messages or select an existing message.
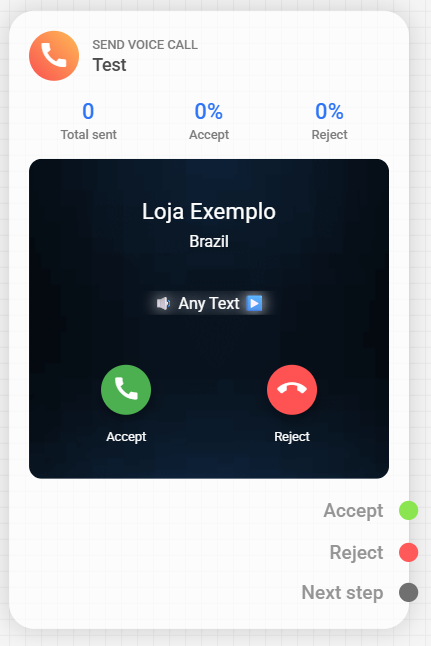
Voice Call Block Outputs: The voice call block has three outputs:
- Output to "Next step" directs all leads to the next step in the automation.
- Output "Accept" directs only the leads who answered the call.
- Output "Reject" directs only the leads who rejected the call.
UTM Parameters
In Email, WhatsApp, and SMS sends, it is possible to configure UTM Parameters if you wish to track the link sent in this message. This can be used to track the source of a purchase on your external sales platform.
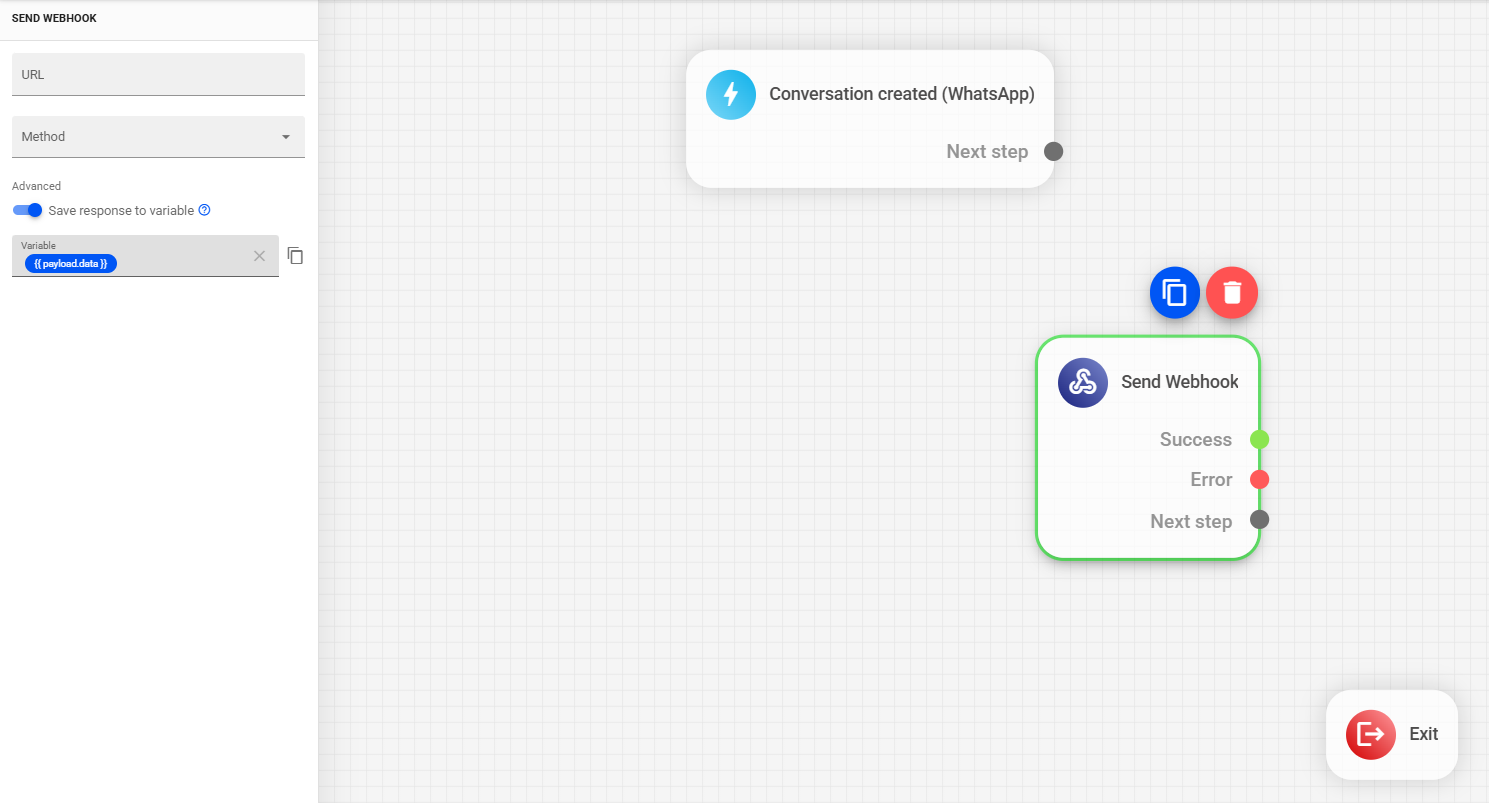
Send Webhook
- To send a Webhook from the automation, simply add the webhook URL and select the method (POST, GET).
- It is possible to save the webhook response in a variable for later use in the automation.
- The webhook block has two outputs:
- Output “Success”: triggered when the webhook returns successfully.
- Output “Error”: triggered when the webhook fails to send successfully.
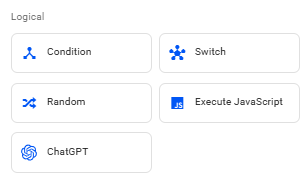
Logical Operators
You can add filters to your automation to refine the flow. The available filter types are: Logical, Time, Chat, Advanced. For a deeper understanding of configuring these filters, it is recommended to watch the specific tutorial: Understanding Logic, Time, and Advanced Actions in Automations.
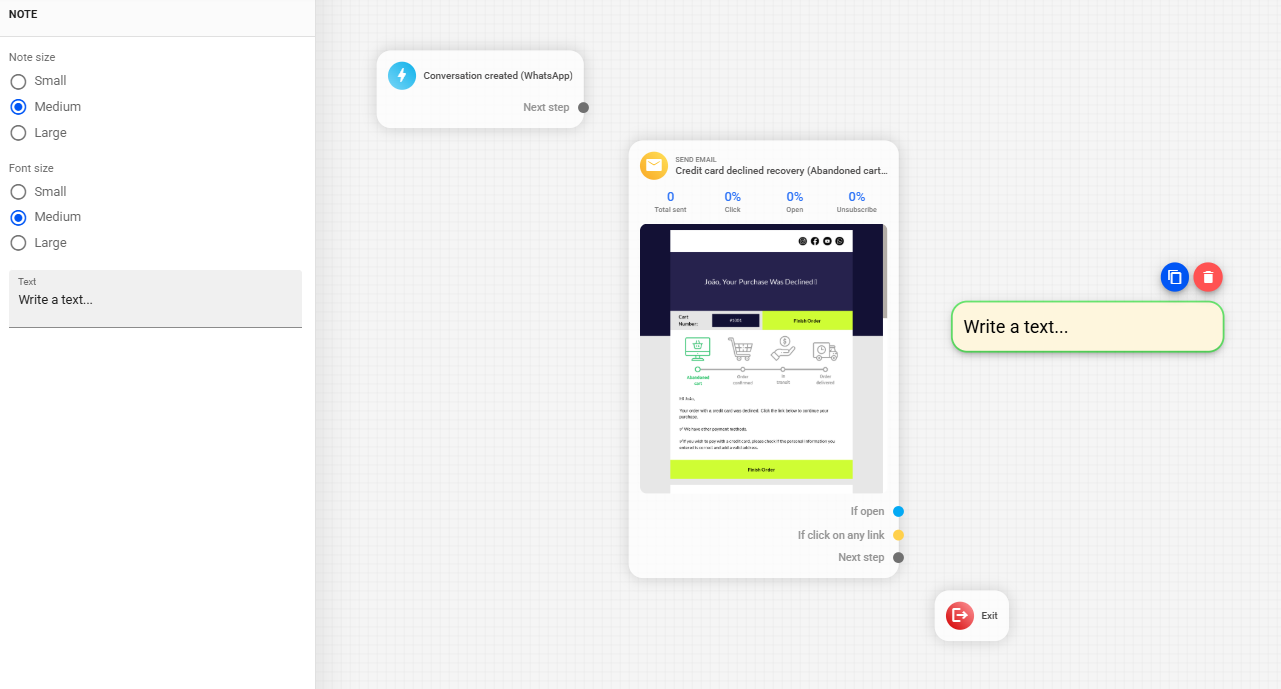
Extra Blocks
You can also add Notes in the automation. These notes perform no action and serve only as reminders or annotations for the user.
Completing the Automation
After building your entire flow, ensure you make all the connections between blocks. At the end, connect the funnel's final step to the Exit block.
Click Save and Close to finalize the creation process. Always remember to activate your automations so they begin sending.
Notice: automations do not work retroactively. This means your automation will send messages only to leads added after activation. If you want to send to previous leads already in your database, you can perform a semi-automatic send.