Introduction
Mass campaigns are ideal for quickly and efficiently communicating promotions, announcements, or important messages. With Reportana, you can create advanced campaigns that automatically send personalized messages via WhatsApp, Email, Phone Calls, and SMS. In this article, you’ll learn how to build this type of campaign in practice.
How It Works
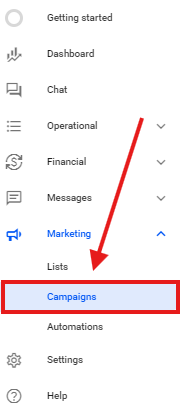
Log in to your Reportana account. Go to the side menu and click on Marketing → Campaigns. Or access it directly: Marketing - Campaigns.
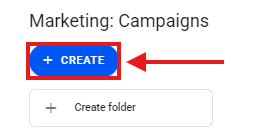
First click on +Create.
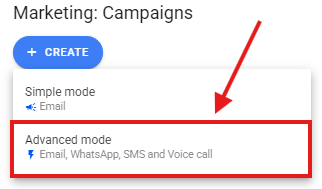
Select Advanced Mode.
Note: In this example, we’ll use Advanced Mode because we’ll create a campaign that includes sending messages via Email, WhatsApp, SMS, and Phone Call. If your campaign only involves sending Emails, you can choose Simple Mode, which is simpler and more straightforward.
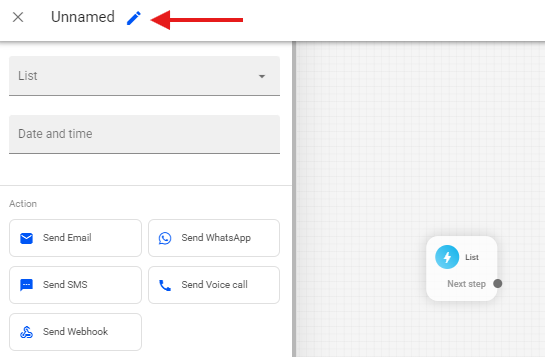
After selecting the Advanced Mode campaign, the editor will open. To configure your campaign, first click the pencil icon and enter the name of your campaign.
Then, select the list of leads you want to use in the campaign.
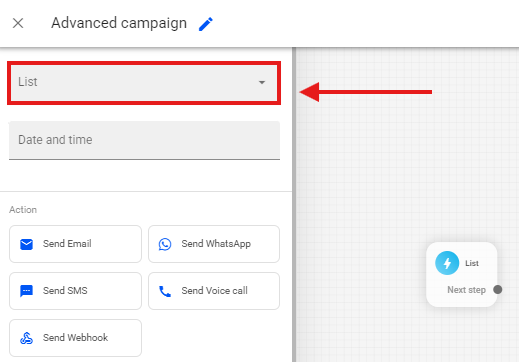
Note: If you want to learn how to create your lists, we recommend that you watch our tutorial: Lists
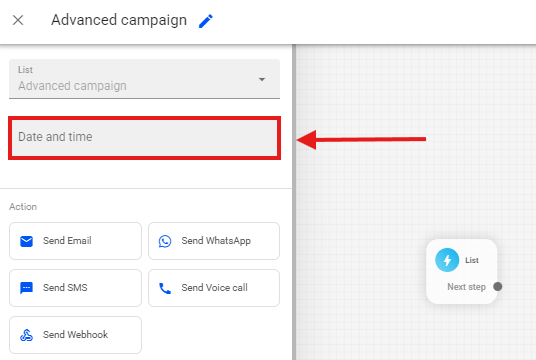
Also select the date and time you want to schedule the campaign to be sent.
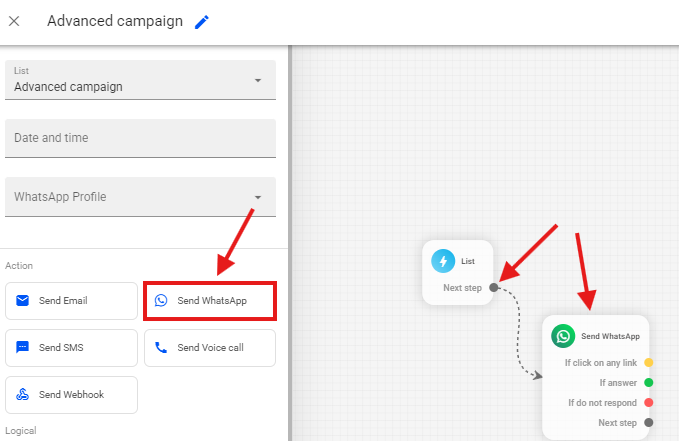
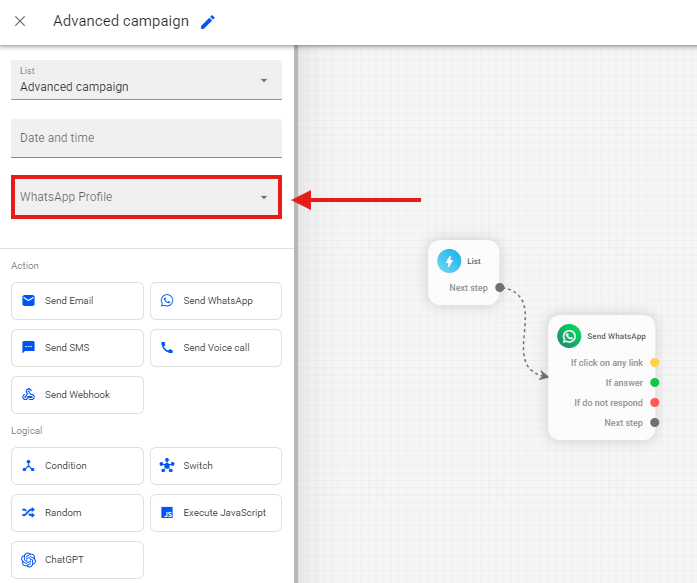
In the side menu, click on Send WhatsApp to add WhatsApp message blocks, and link them to the Next Step sub-trigger of your main trigger.
Select your WhatsApp profile that will be responsible for sending the campaign's WhatsApp messages.
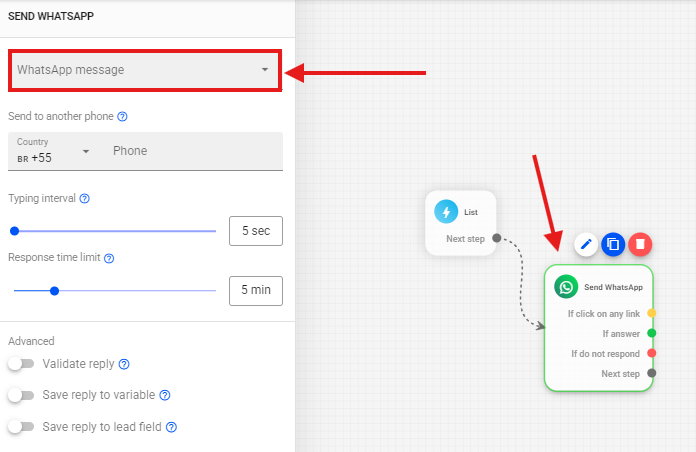
Next, select your WhatsApp block and click on WhatsApp Messages.
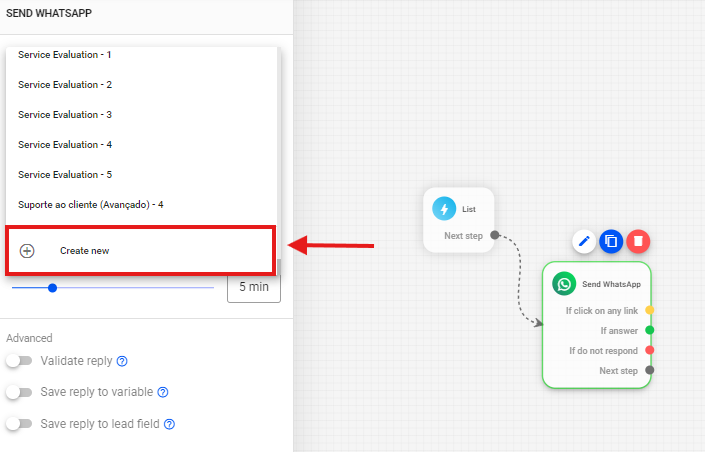
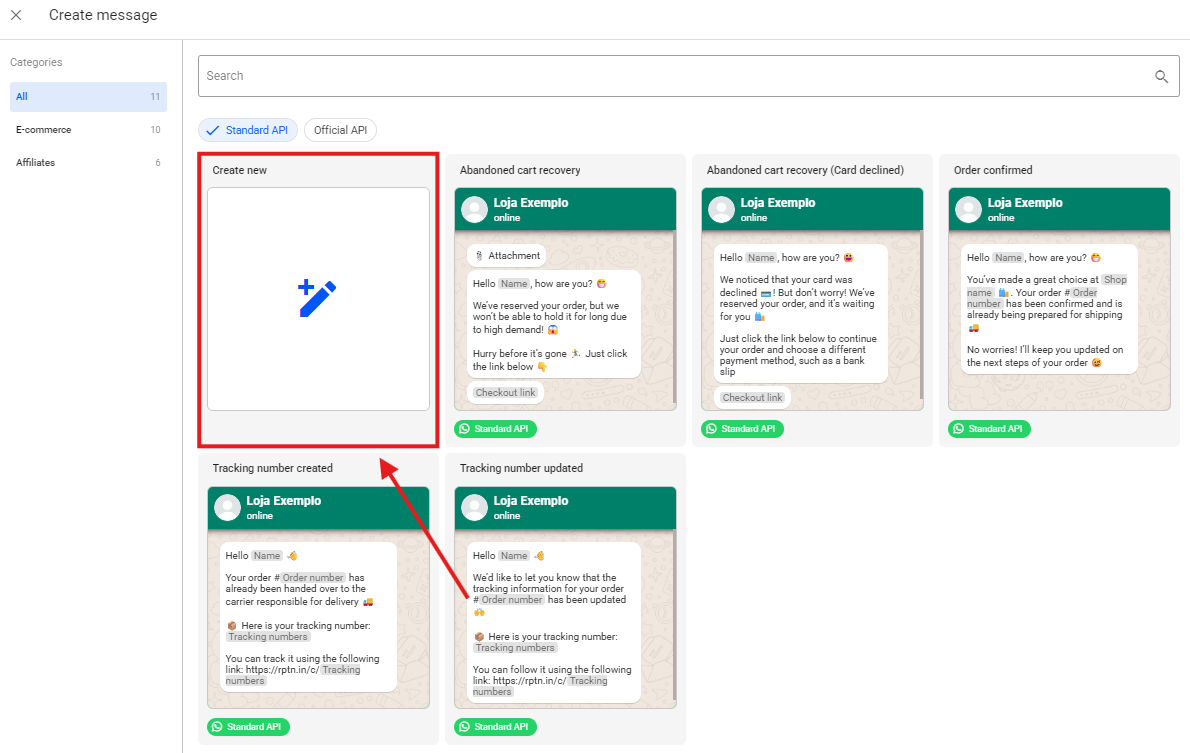
After selecting WhatsApp Messages, all previously created messages will be displayed, which you can reuse if you wish. However, in this example, we’ll create a new message. To do so, select the Create New option.
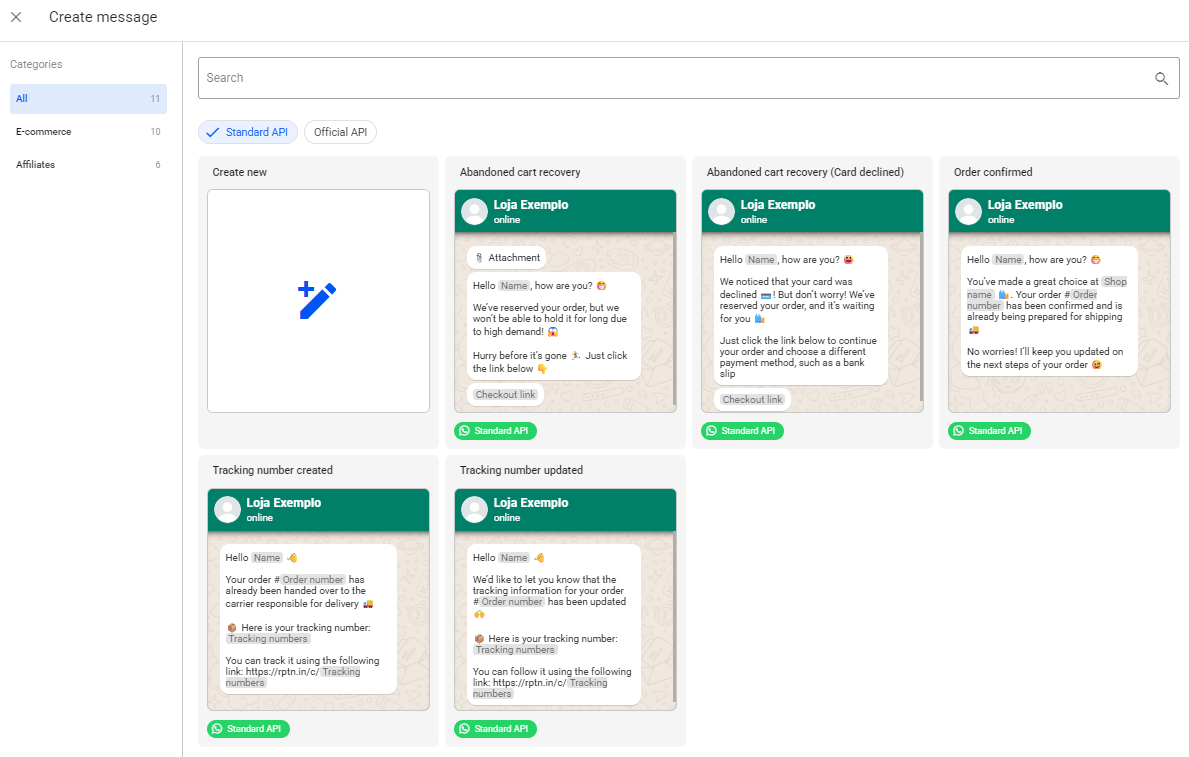
In this tab, you’ll find some pre-approved message templates. They can be used as a base and freely edited to suit your needs.
To create a new message from scratch, click Create New.
Select the Message Format according to the type of connection used in your account.
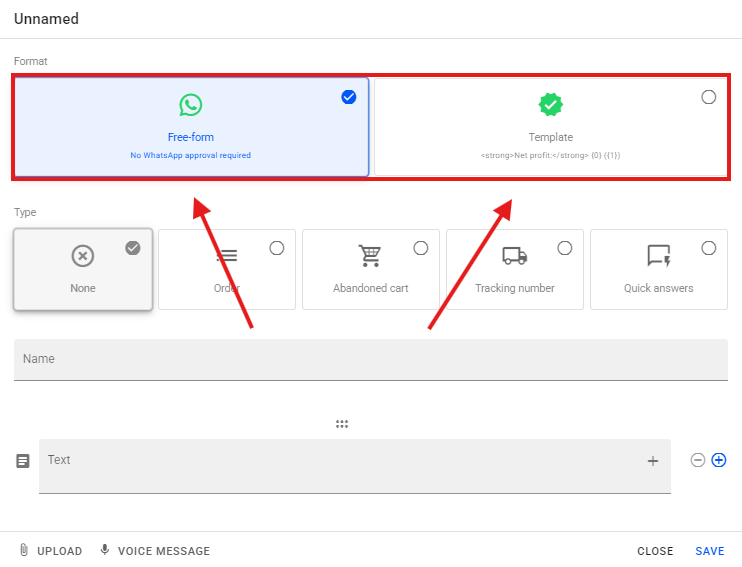
Note: If you have any questions about how WhatsApp message formats work, we recommend that you watch our tutorial: Getting to Know the WhatsApp Message Editor
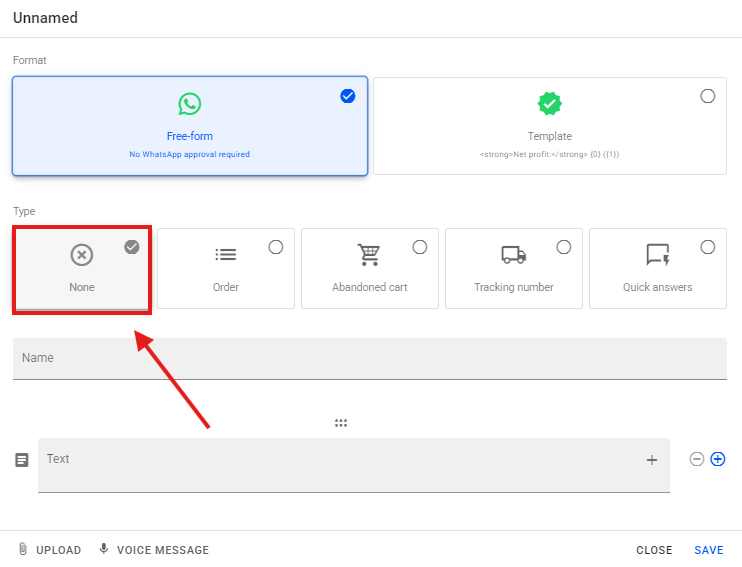
Select Type → None.
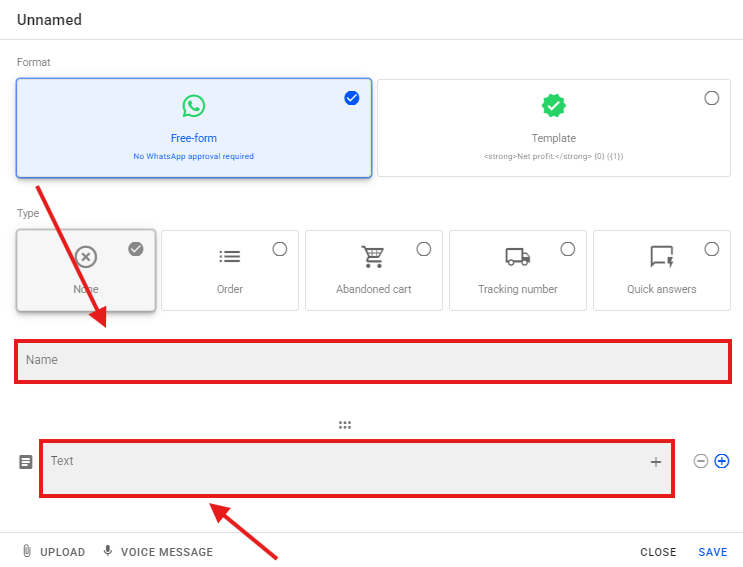
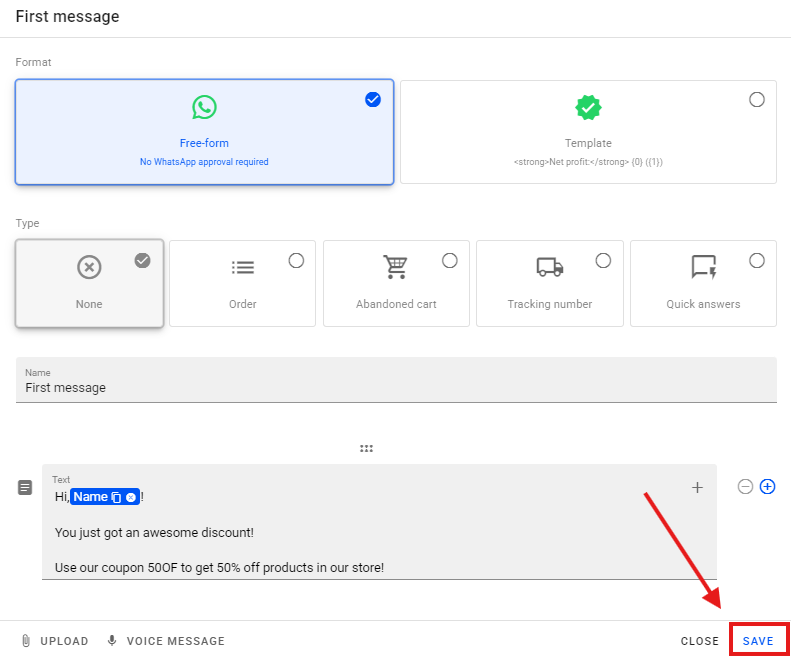
Enter a name for your message and create the content of your message according to your campaign strategy.
After creating your message, click Save to save it.
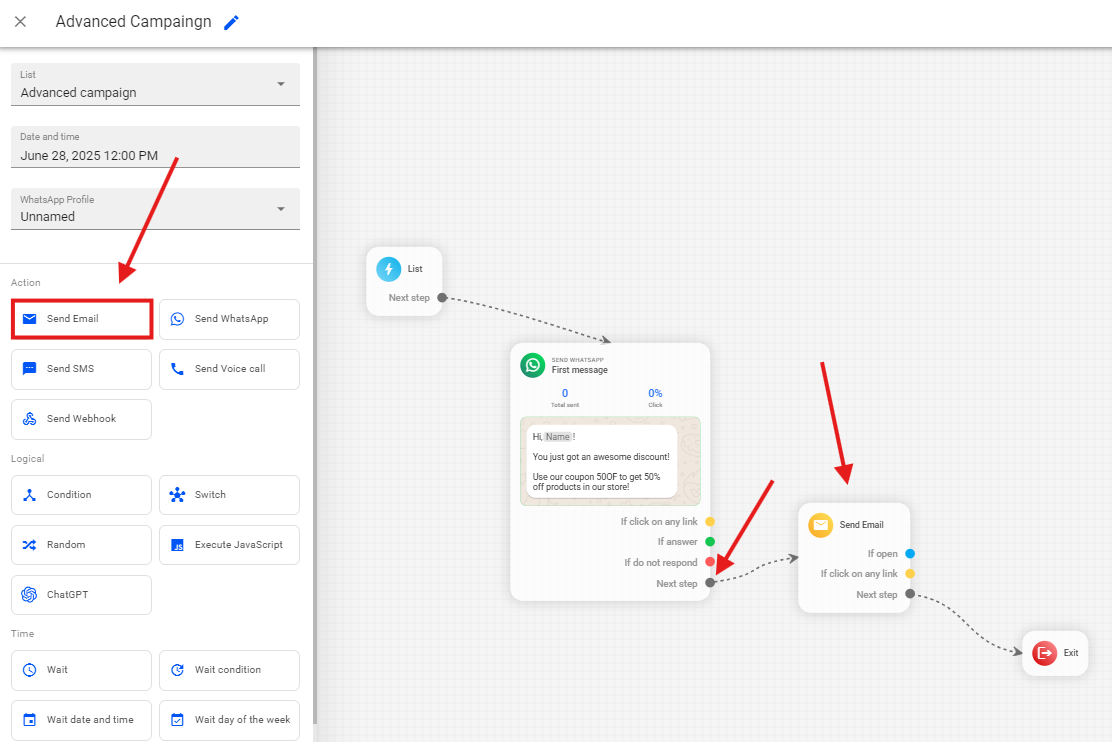
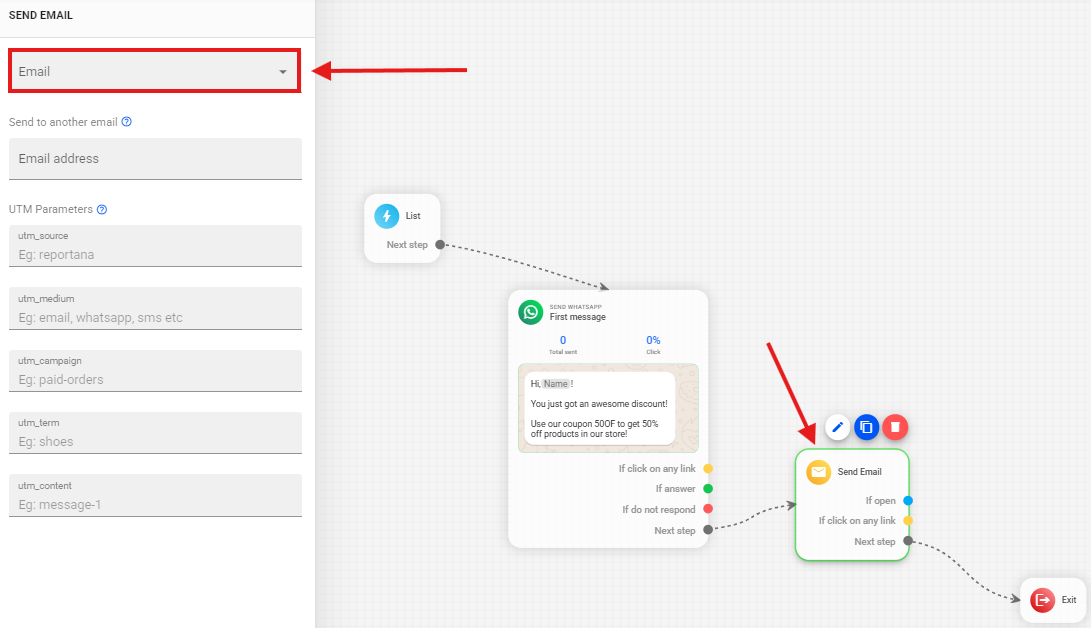
If you wish to send emails in this campaign, select the Send Email option and link it to the Next Step sub-trigger of your WhatsApp block.
Select your Send Email block and click on the Email option.
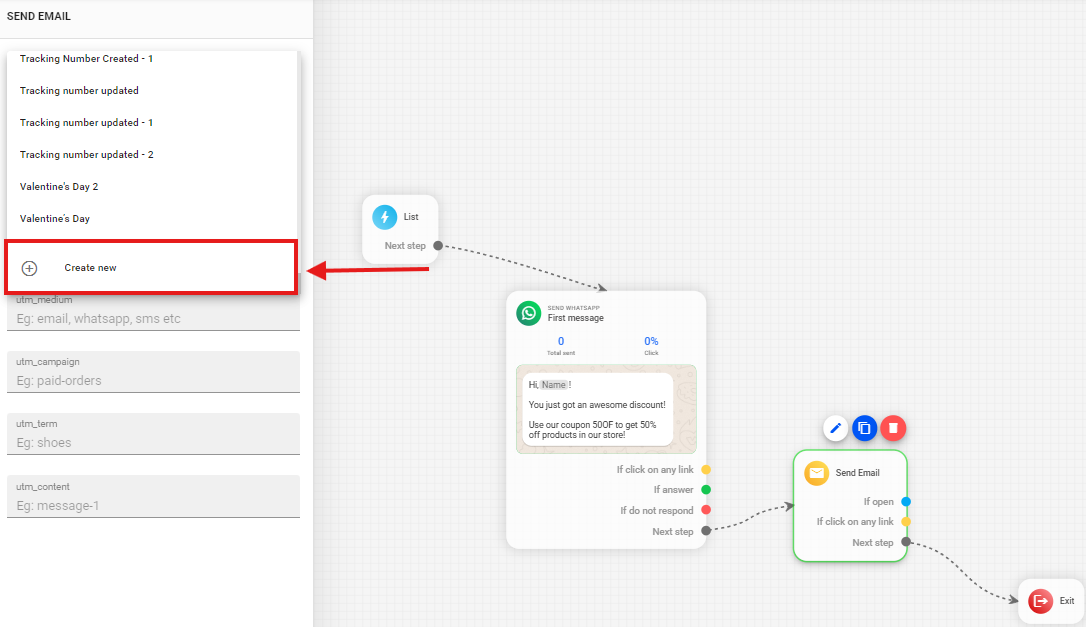
All previously created emails will be displayed, and you can reuse them if you wish. However, in this example, we’ll create a new message. To do so, select the Create New option.
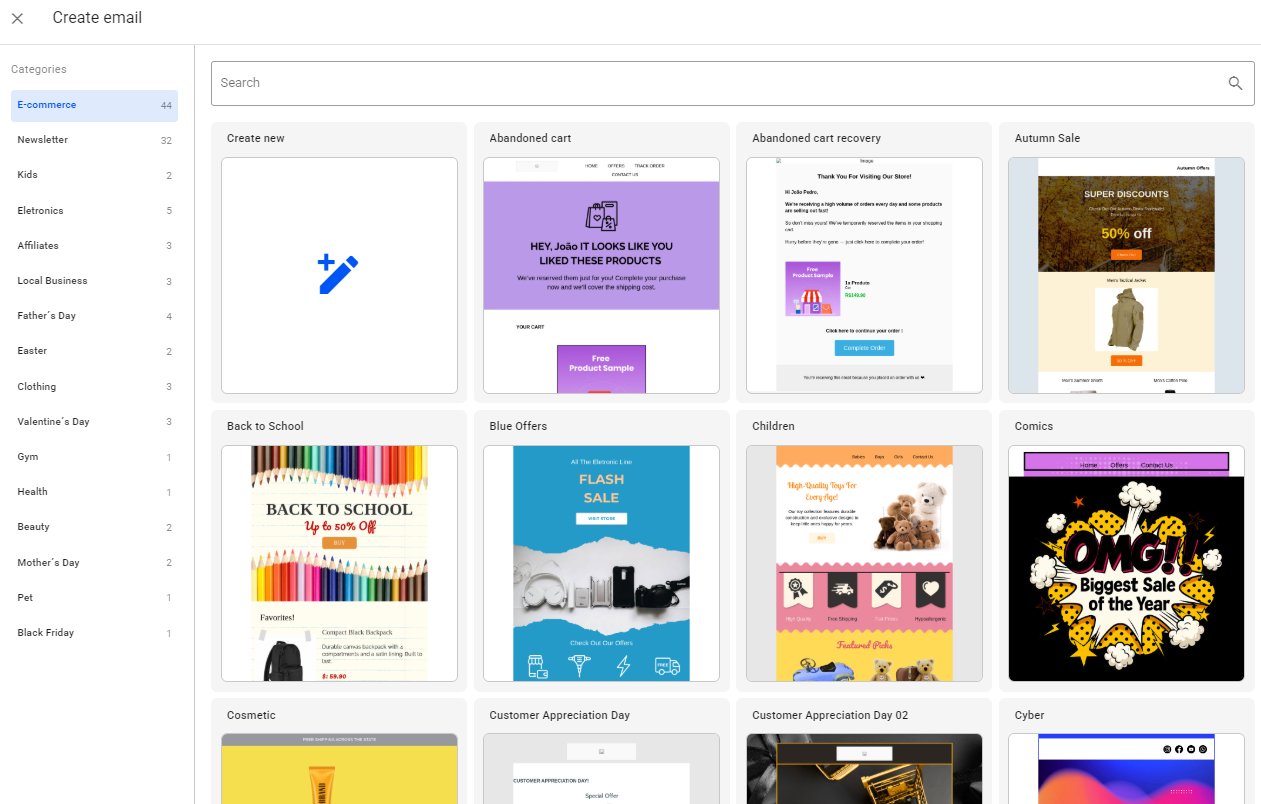
In this tab, you can view pre-approved email templates. They can be used as a base and freely edited to suit your needs. You can also create a new email by clicking the Create New option. However, in this example, we’ll use one of our templates.
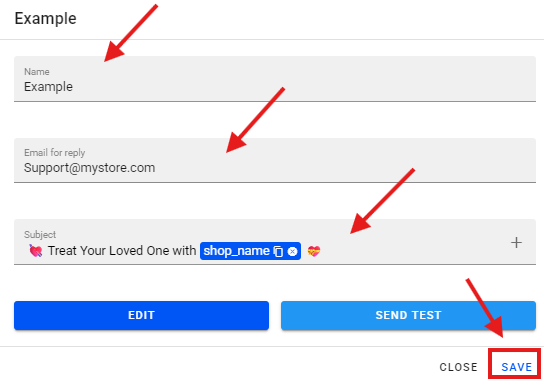
After selecting your email, enter a Name, a Reply-To Email which will be used as the sender if your customers reply, and the desired Subject. To finish, just click Save.
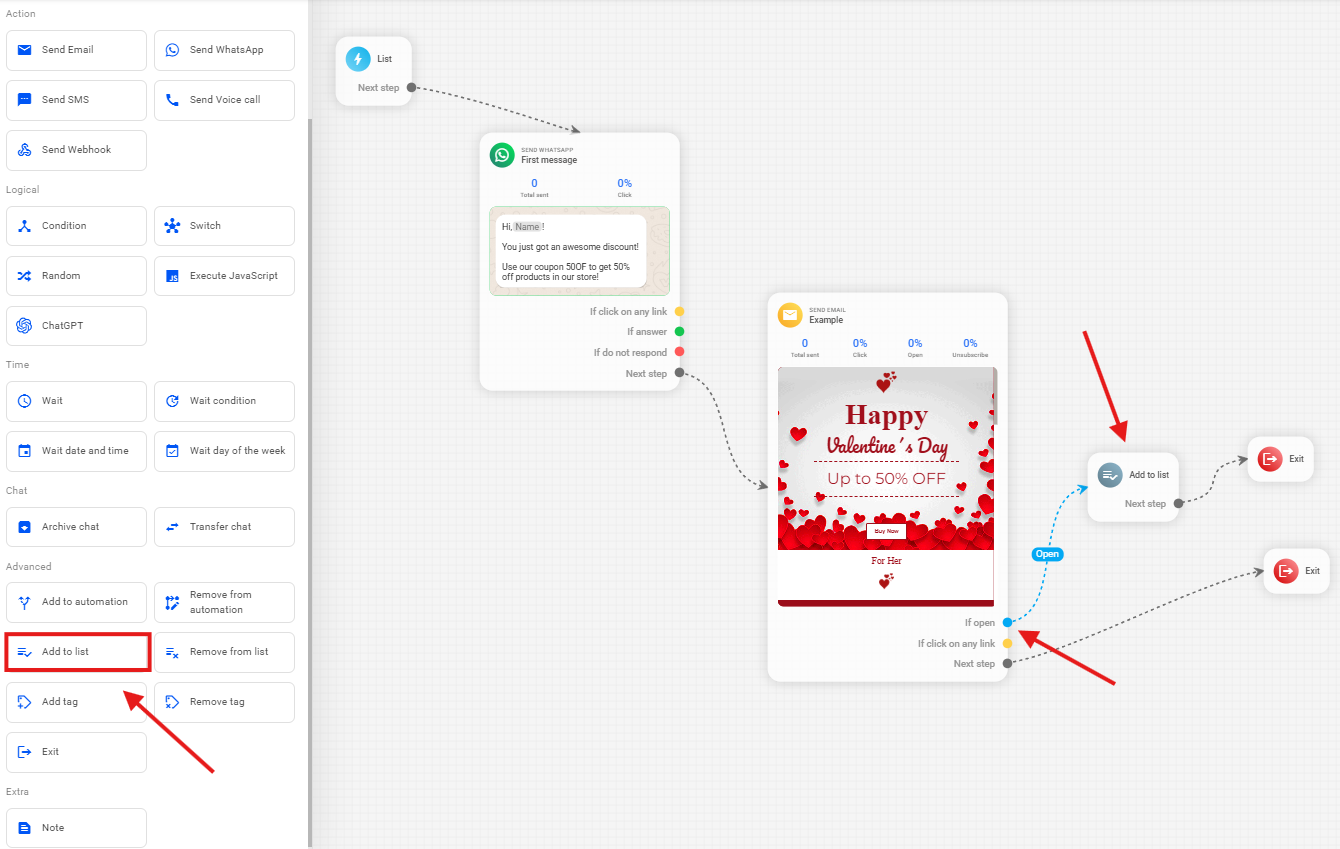
You can use additional features in an advanced campaign, with the options available in the side menu. For example, if you want to add all leads who opened your email to a list, add an Add to List block and link it to the If Open sub-trigger from your email block.
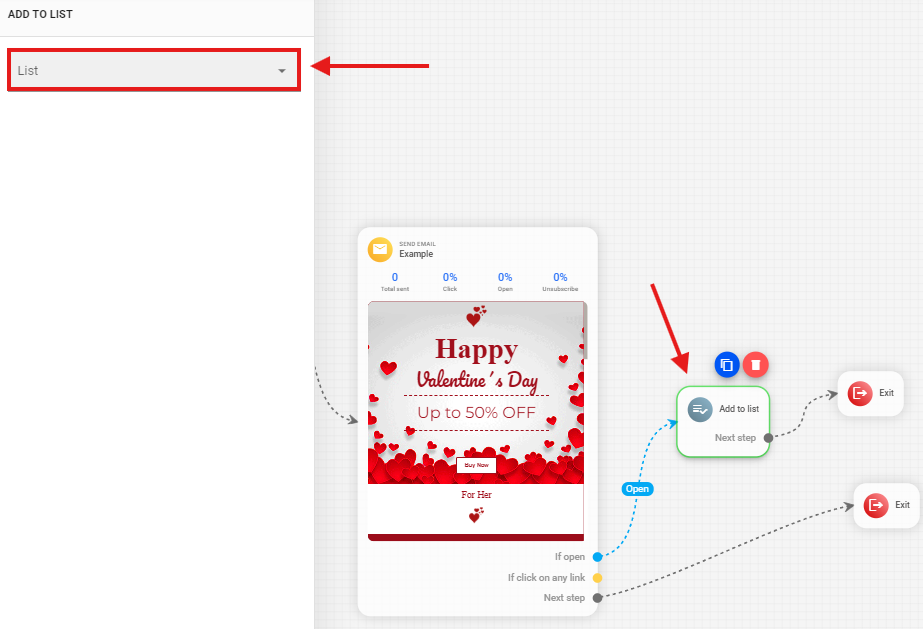
Select your Add to List block and select the list you want to insert these leads into.
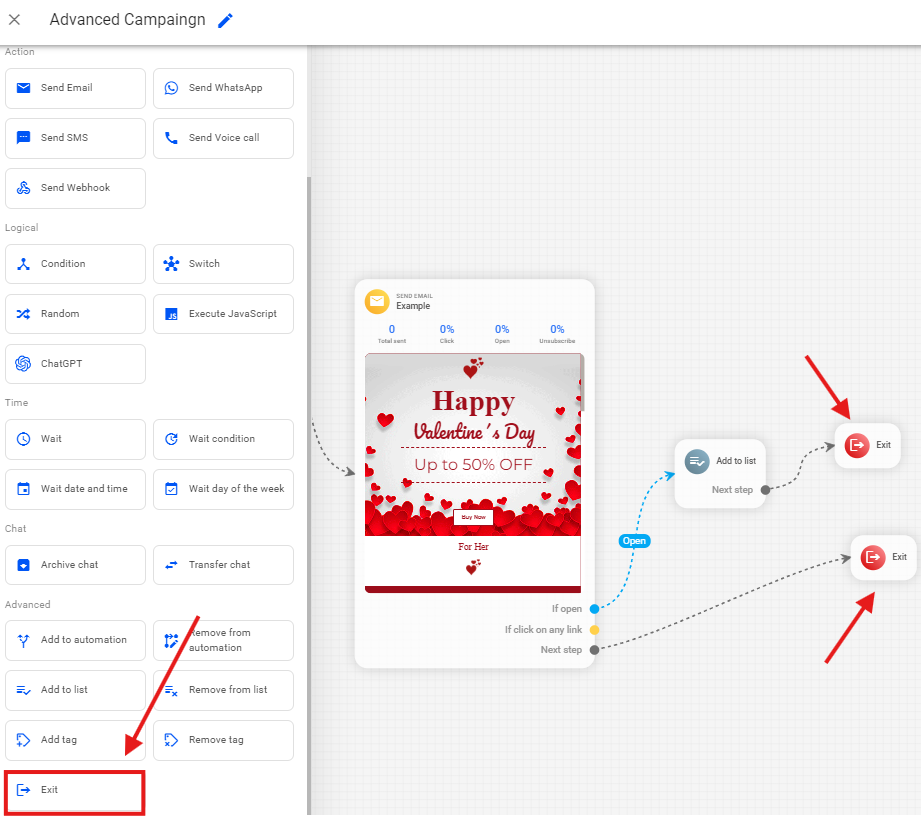
Remember, at the end of your flow, add the Exit block to end this campaign for these leads present in your campaign.
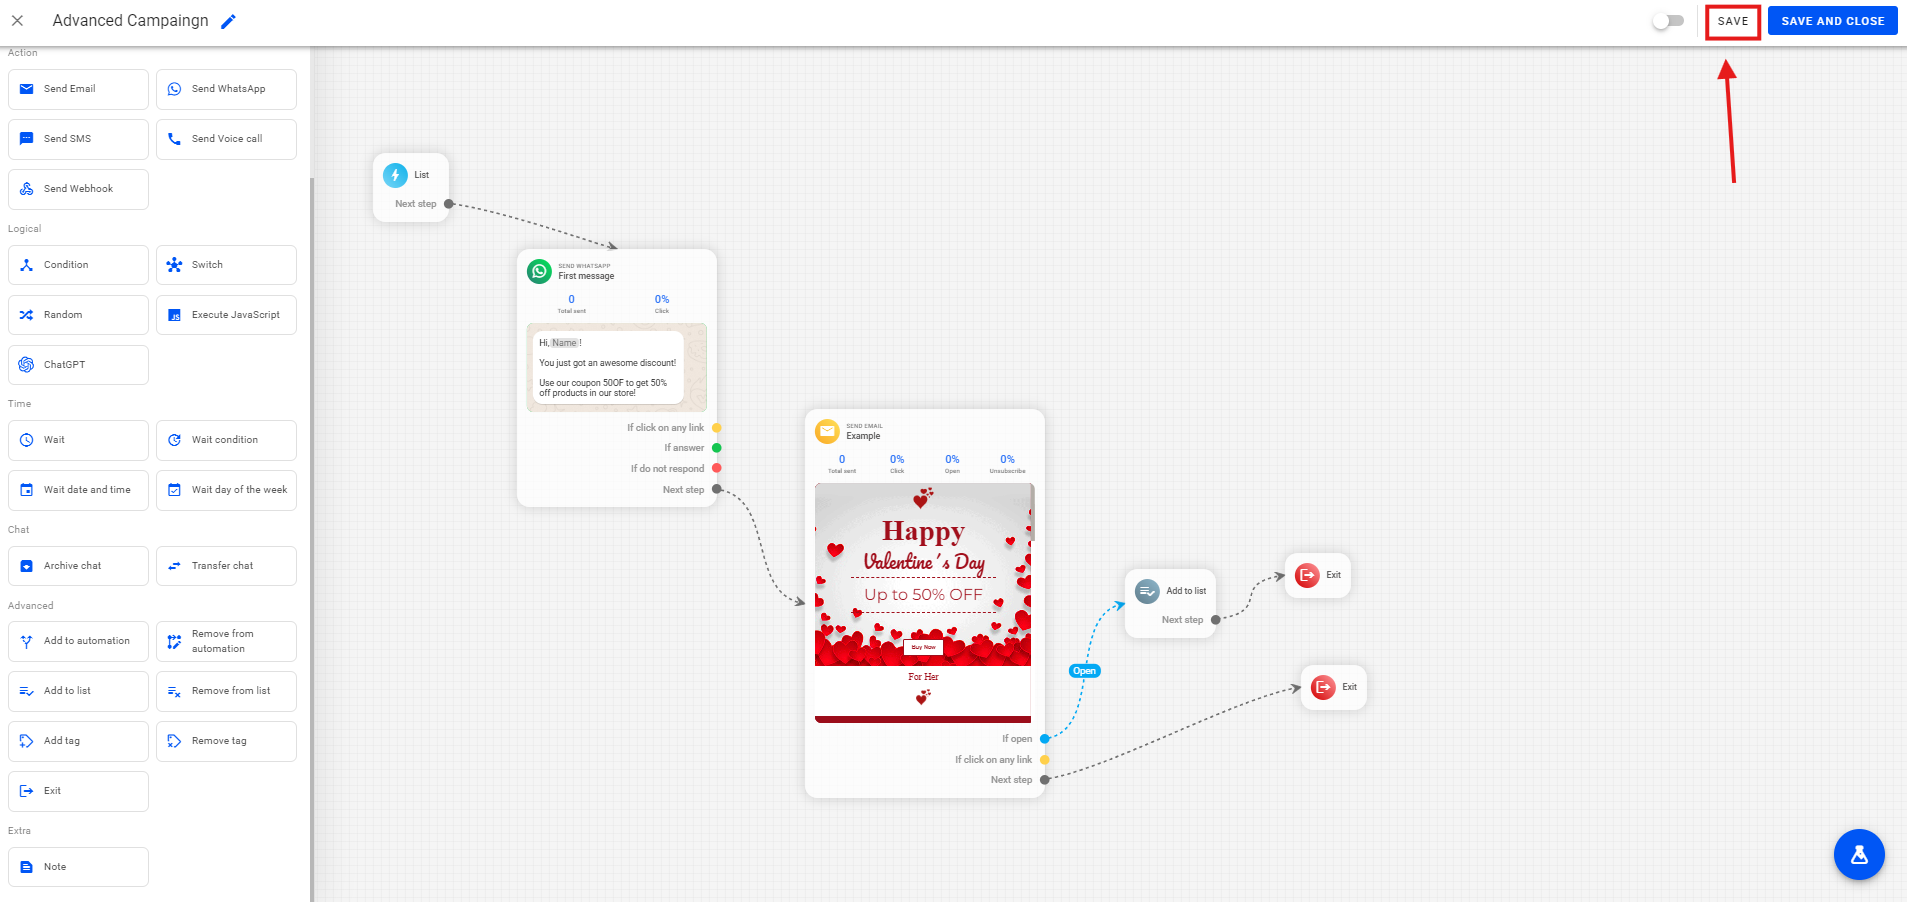
After creating your flow, select the Save option to save your campaign.
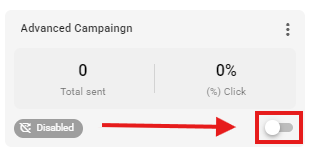
After saving your campaign, it will be displayed as shown in the image below. To finish, simply click the highlighted button and activate your campaign.