Introduction
SMS messages are an efficient tool to reach customers quickly, directly, and with a high delivery rate. They can be used to confirm orders, send payment reminders, promotions, delivery notifications, or any other important information.
In this tutorial, you’ll learn how to create personalized SMS messages within the Reportana platform, exploring the available features to make your communication more relevant. You’ll also learn how to use them in automations, ensuring your messages are sent at the ideal time, practically and independently.
Currently this feature is only available nationwide (Brazil).
How It Works
In your Reportana account, navigate to the sidebar menu and click on Messages → SMS. Or access: Messages - SMS.
Click on +Create.
In this tab, select the Type of message, the Name, and the Text of your message in the fields below. The type must be correctly selected for the variables to be available during creation and use.
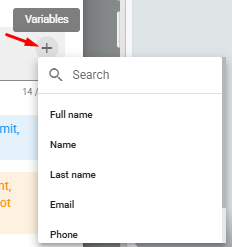
To add variables to your message, simply insert them using the gray + symbol in the text box. You’ll find information about your business, the customer, and the order to personalize your message. These variables will be automatically filled when the message is sent.
When creating SMS messages, it’s important to follow text restrictions. Messages must not contain sensitive content or unsupported special characters. Only the characters listed here are allowed: Allowed Characters.


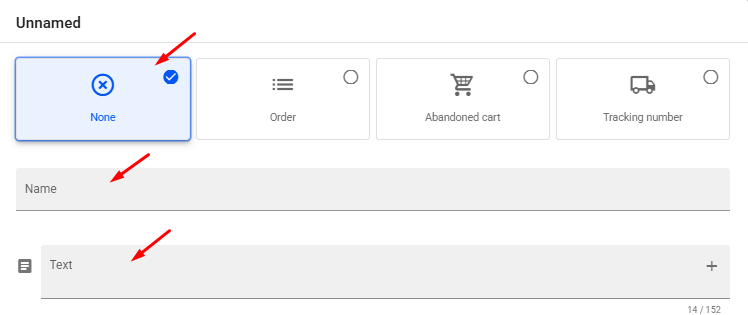

Note: The message must not exceed 152 characters. Keep in mind that variables can consume a significant portion of this limit.
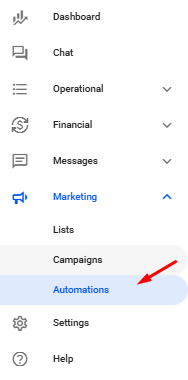
The messages you create can also be sent through automations to streamline your processes. In your Reportana account, go to Marketing on the sidebar → Automations. Or access: Automations
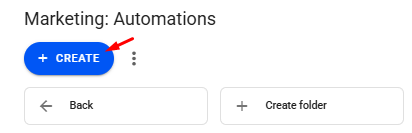
Then click on +Create → Create new to start a new automation.
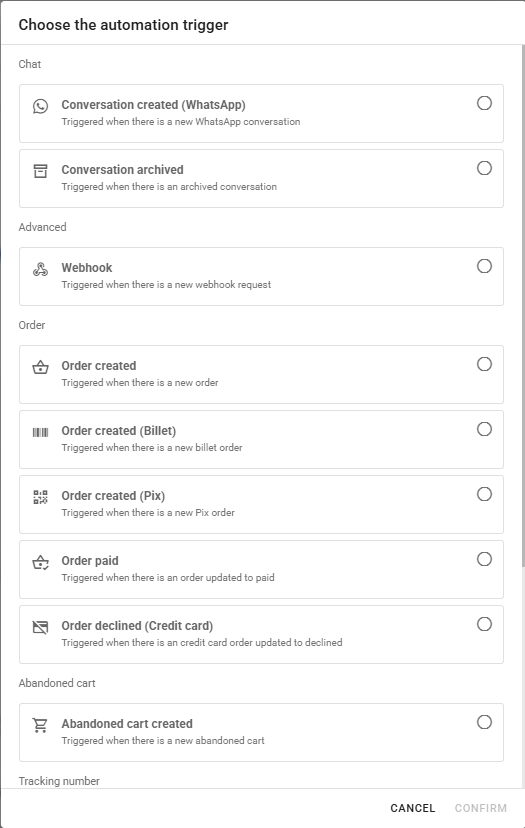
When creating a new automation, choose a trigger that will automatically start your automation.
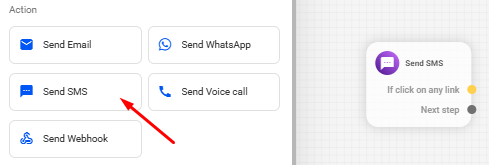
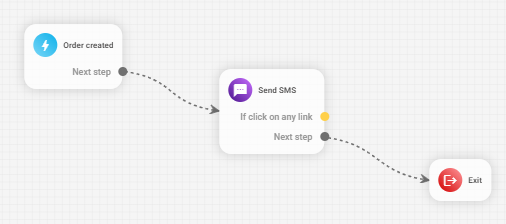
Add the Send SMS block to the flow.
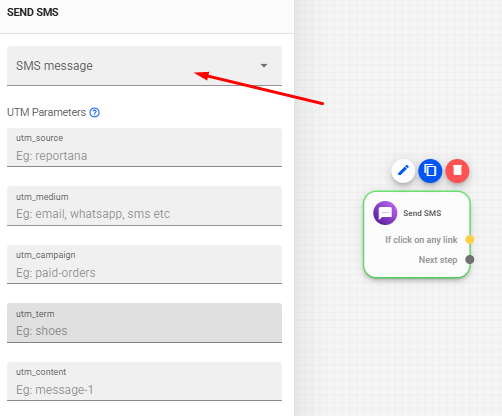
Search for the message you created. You can also create a new one by clicking the pencil icon on the block.
Connect the elements of your flow.
Once your flow is configured, save and activate your automation.

Note: If you'd like to learn more about how to structure your own automation, we also recommend our article: Exploring the Automation Editor